How to Make Your iPhone Photos Look More Natural
Smartphone photos often look too bright and artificial. Learn how Apple’s tone mapping affects your iPhone shots and how to restore a more natural, film-like look using ProRAW and simple edits in Lightroom or Capture One.

You have probably noticed that photos taken on an iPhone, or really on any modern smartphone, have a very distinctive look. You can almost always tell them apart from photos taken with a traditional camera. There’s a reason for this, and personally I’m not a big fan of it. Mainly for two reasons: I prefer a more timeless look and I like to have creative control.
Why do iPhone photos look the way they do?
Since the iPhone 11 and the introduction of Deep Fusion, which later evolved into Photonic Engine, Apple’s cameras have leaned heavily into computational photography. In simple terms, when you press the shutter button, your iPhone doesn’t just take one photo. It captures several images at different exposures and noise levels, then merges them to create a final image with low noise and high dynamic range.
During this process, your phone also uses semantic mapping — an AI system that recognises different subjects in the frame such as people, pets, skies, and landscapes. It then adjusts the brightness and contrast of each element separately. For example, faces are often brightened automatically, while skies are darkened to preserve detail.
Unfortunately, the eagerness of the iPhone to properly expose every corner of a photo and the lack of creative intent produce images that are very flat and lifeless.
How to Make iPhone Photos Look More Natural
The main culprit behind that overly processed look is Apple’s tone mapping. The good news is that you can bypass most of it but only if you shoot in RAW.
RAW files (as the name suggests) contain the unprocessed data straight from your camera sensor. You can then open them in a RAW editor such as Capture One or Adobe Lightroom to adjust colour, tone, and exposure manually.
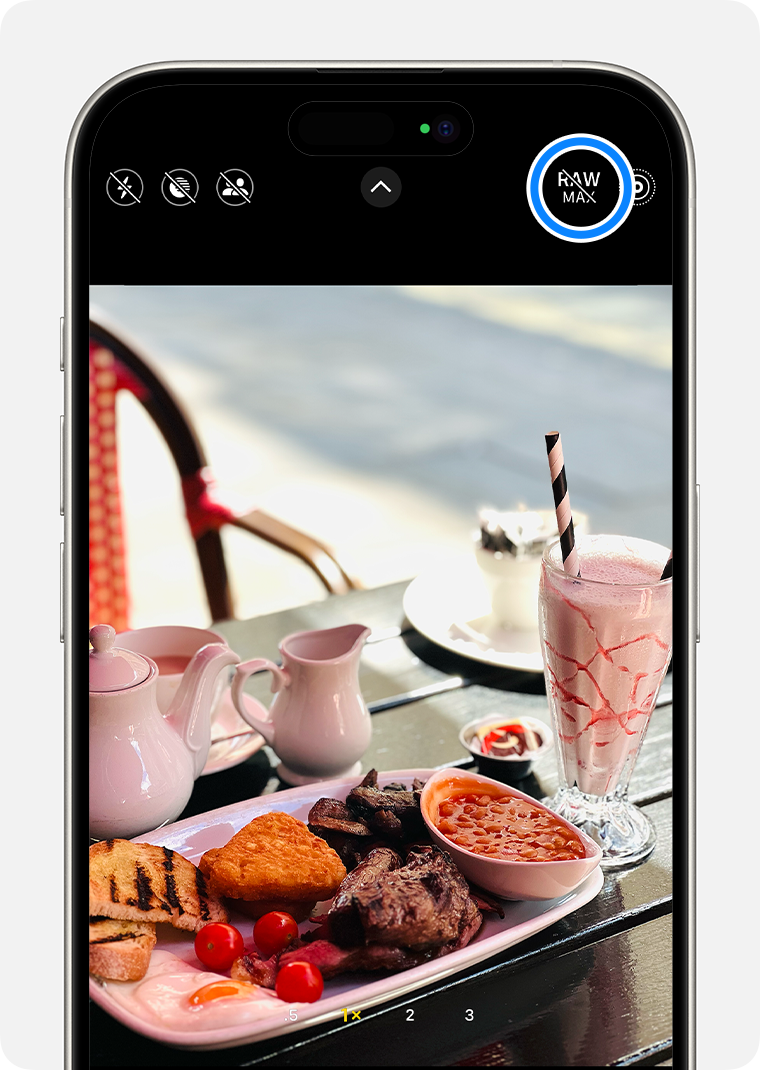
If you’re using an iPhone Pro model, you can shoot in Apple ProRAW. This format combines computational advantages, like lower noise and extended dynamic range, with the flexibility of RAW editing. In other words, you get the best of both worlds: technical quality and creative control.
Editing on a Mac or PC
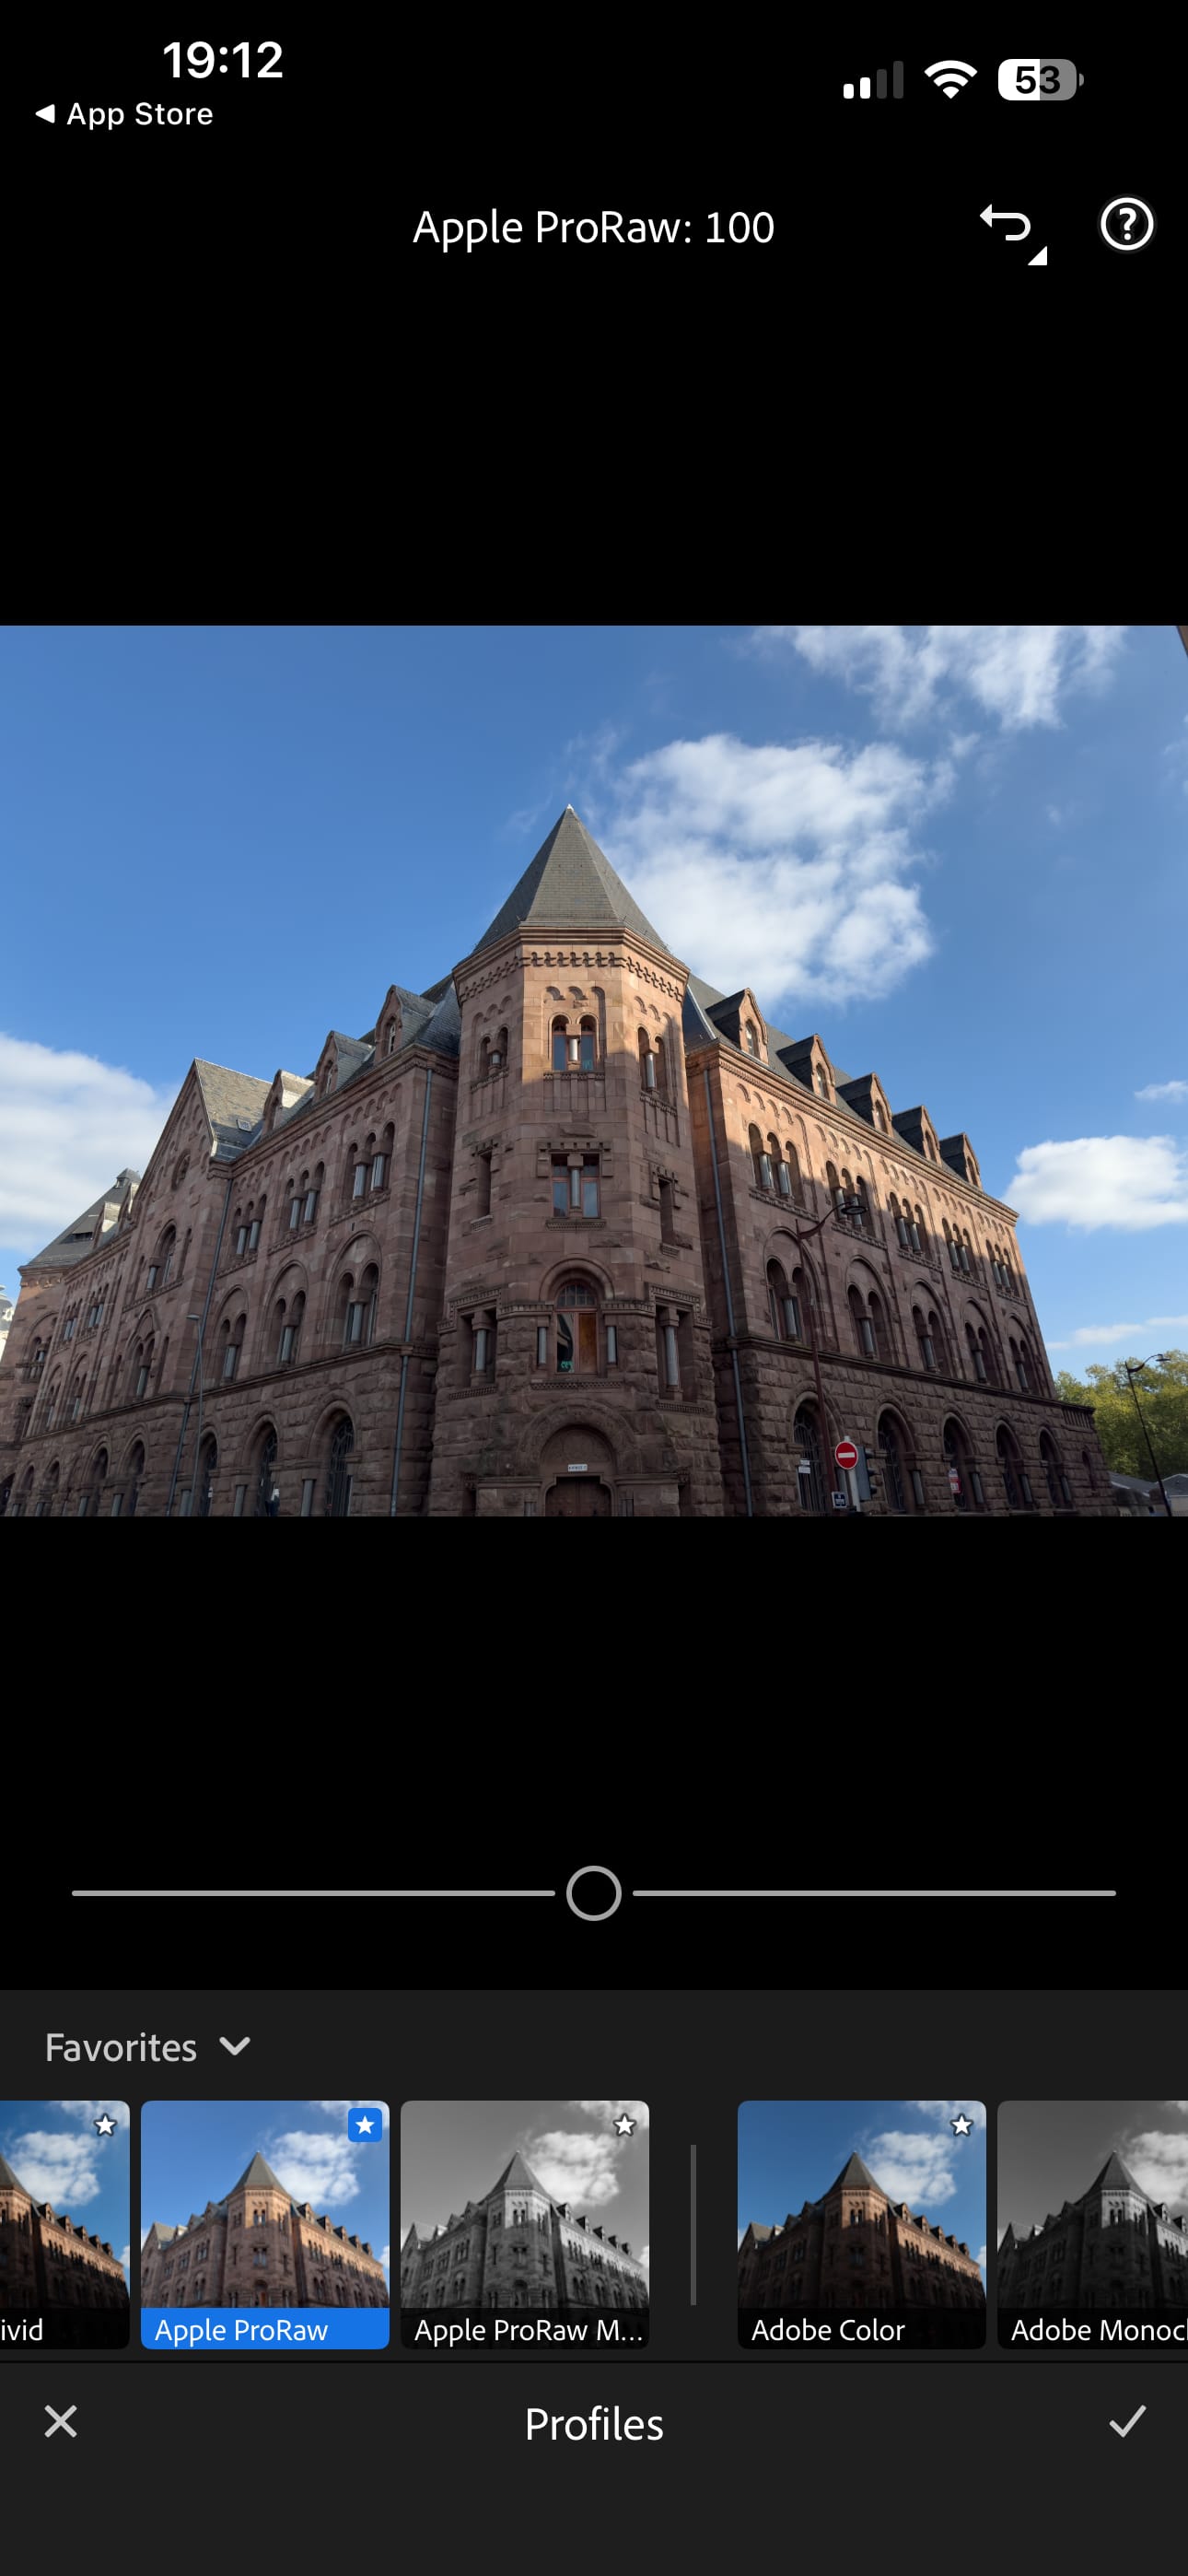
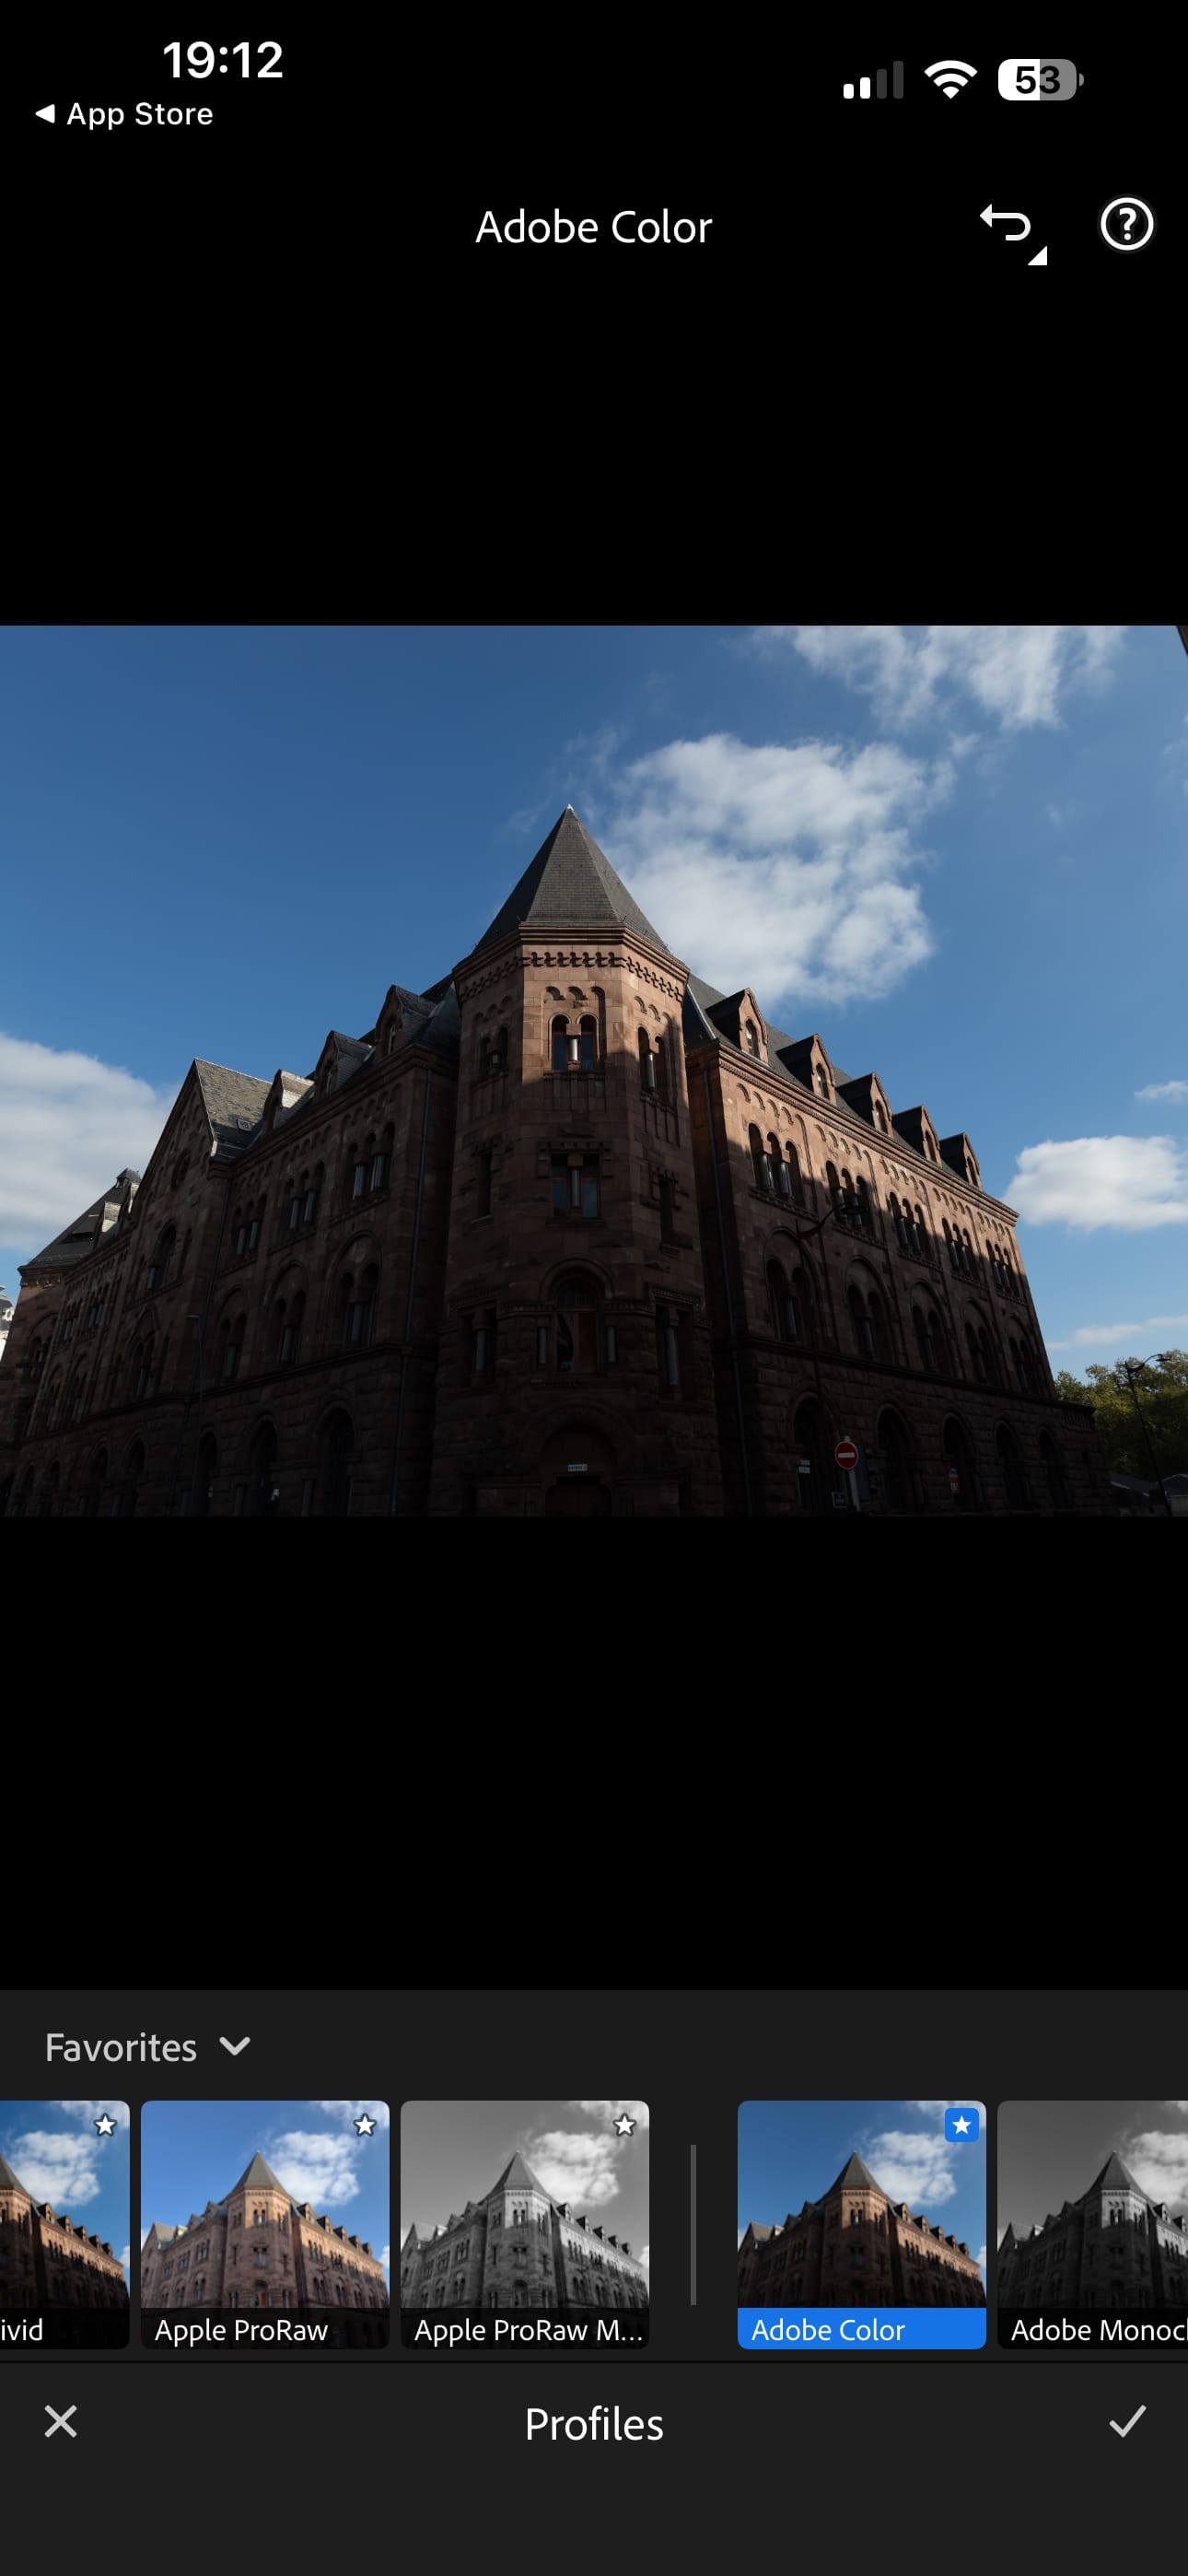
After taking a photo in Apple ProRAW, open your photo in Lightroom or Capture One and then switch the tone curve from DNG Tone Mapped to Film Standard (in Capture One) or change colour profile from Apple ProRAW to Adobe Colour (in Lightroom).
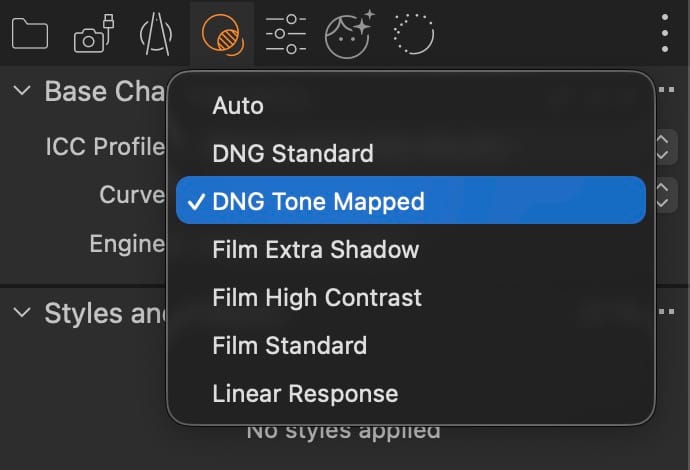
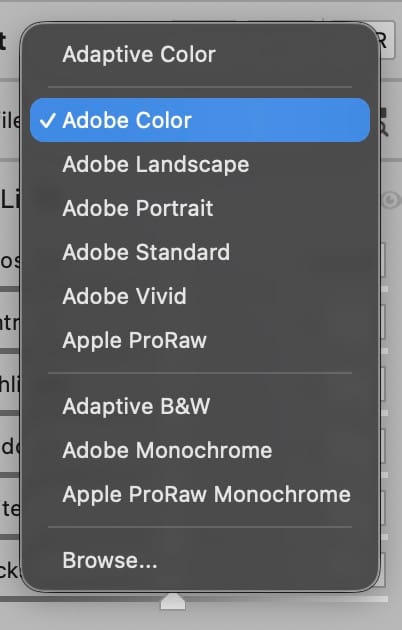
Capture One on the left, Lightroom on the right.
These settings remove Apple’s baked-in tone mapping and give your photo a more natural, filmic look — a truer starting point for your own edits. Most of the time it will be good enough as is.
Editing on your iPhone
A quicker way to do that is just by opening these raw files in mobile version of Lightroom and choosing a different profile in the adjustments tab. Here is an example.
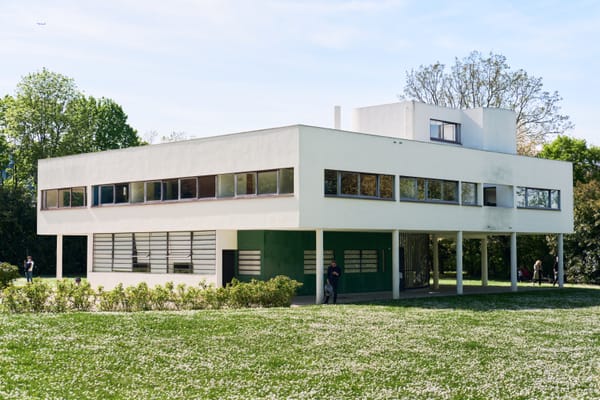
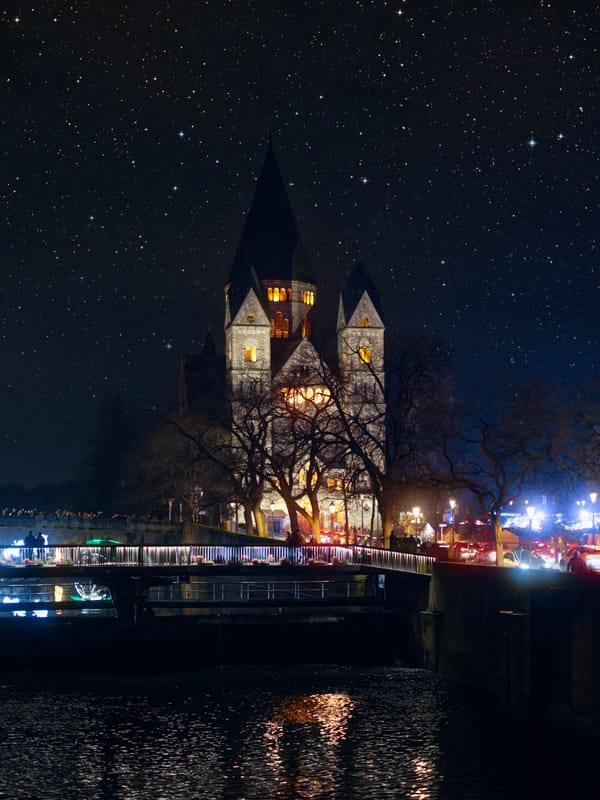
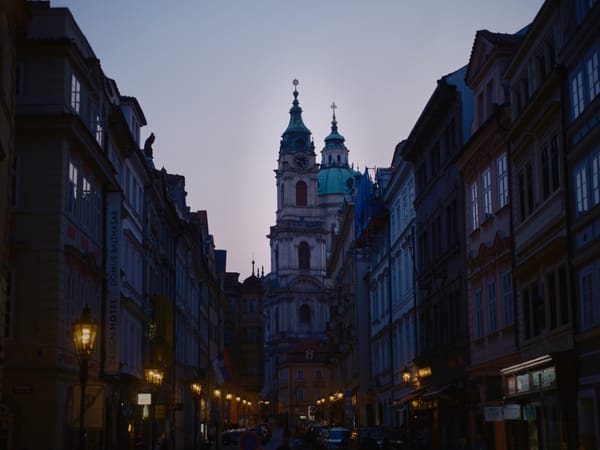
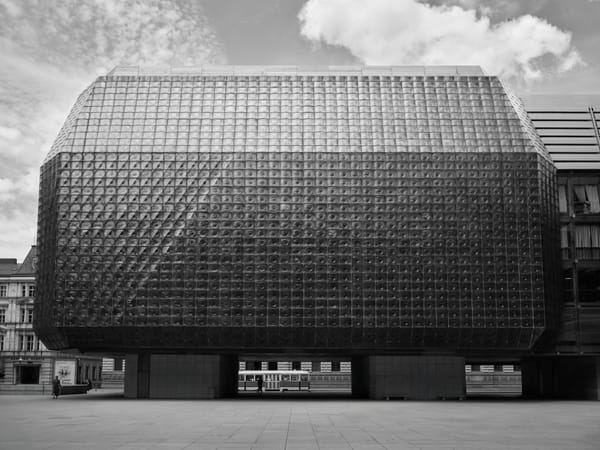
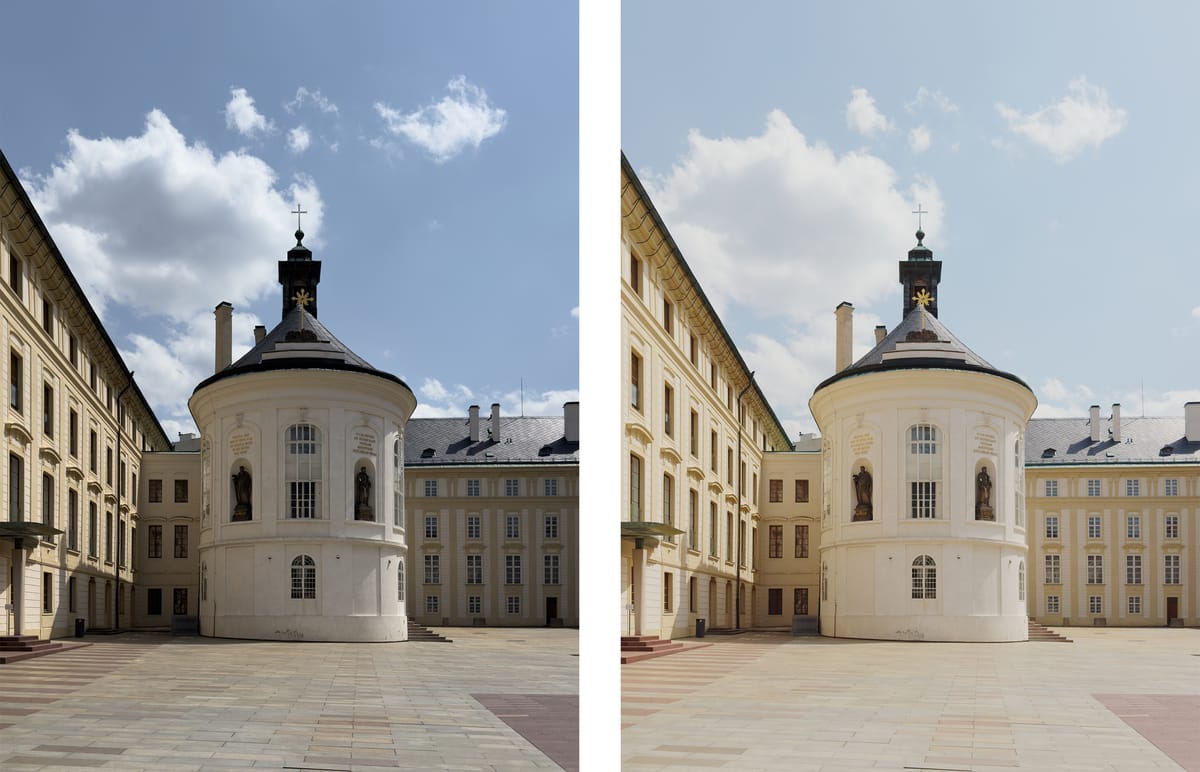
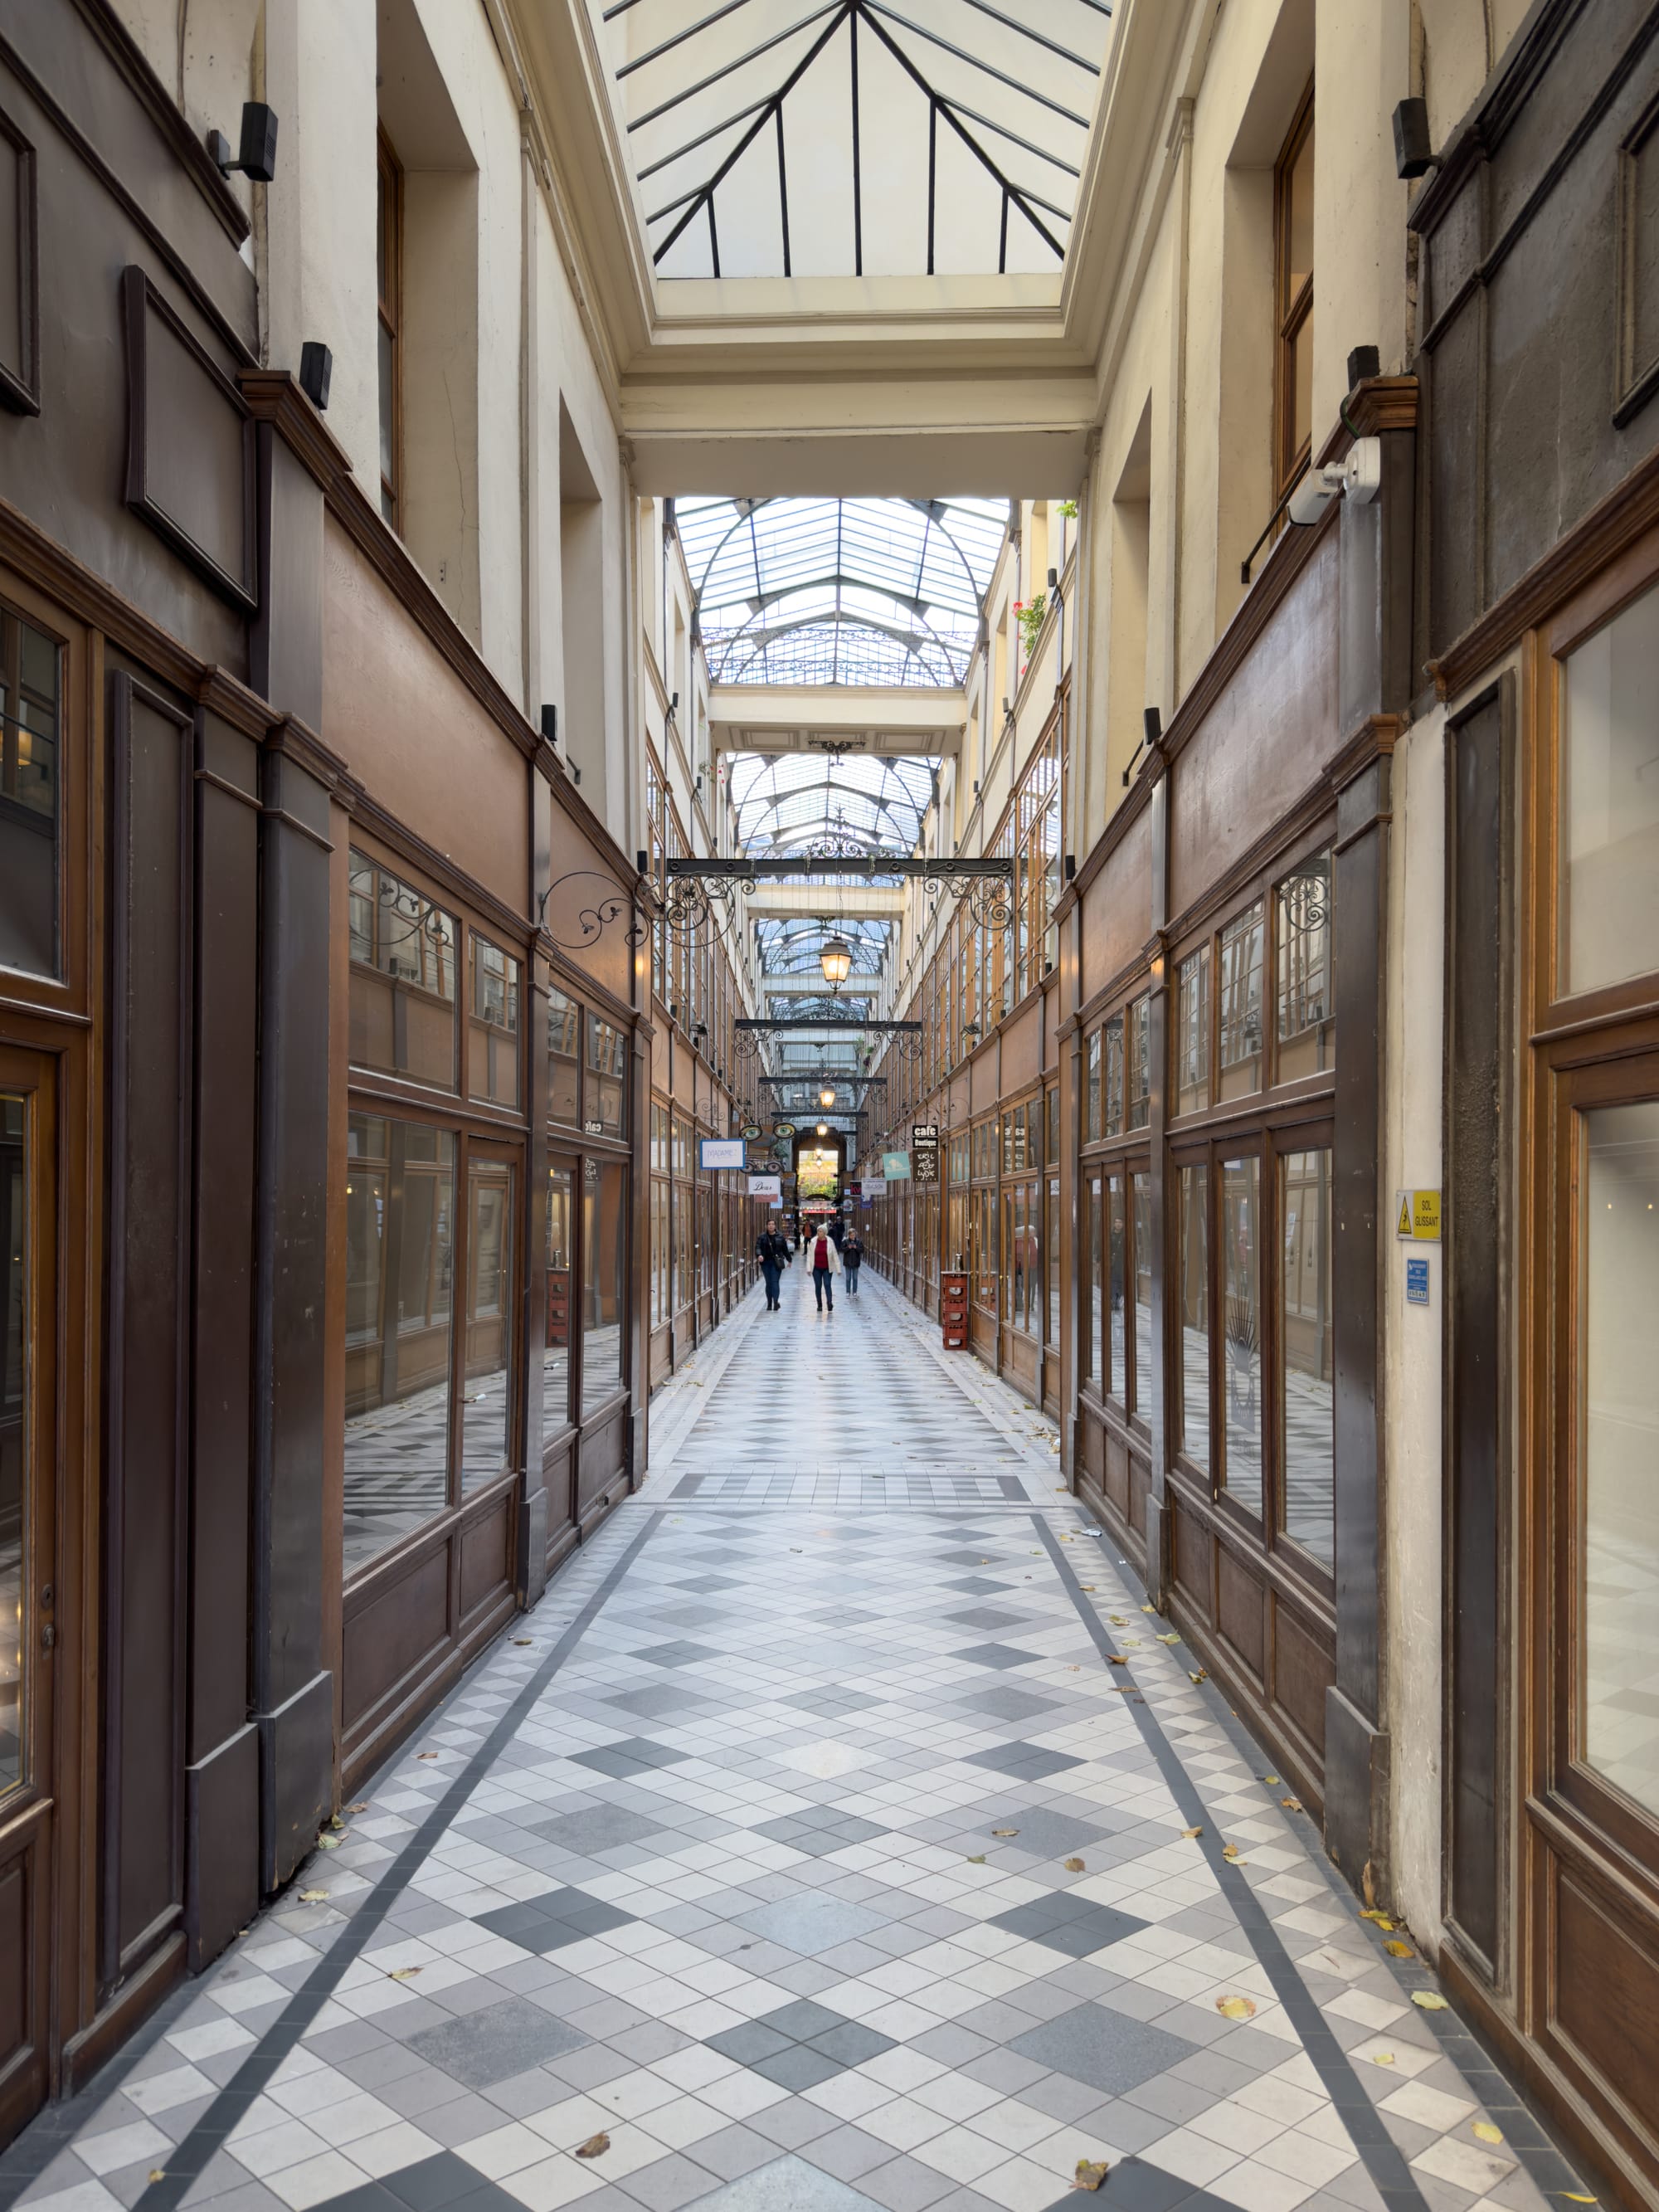
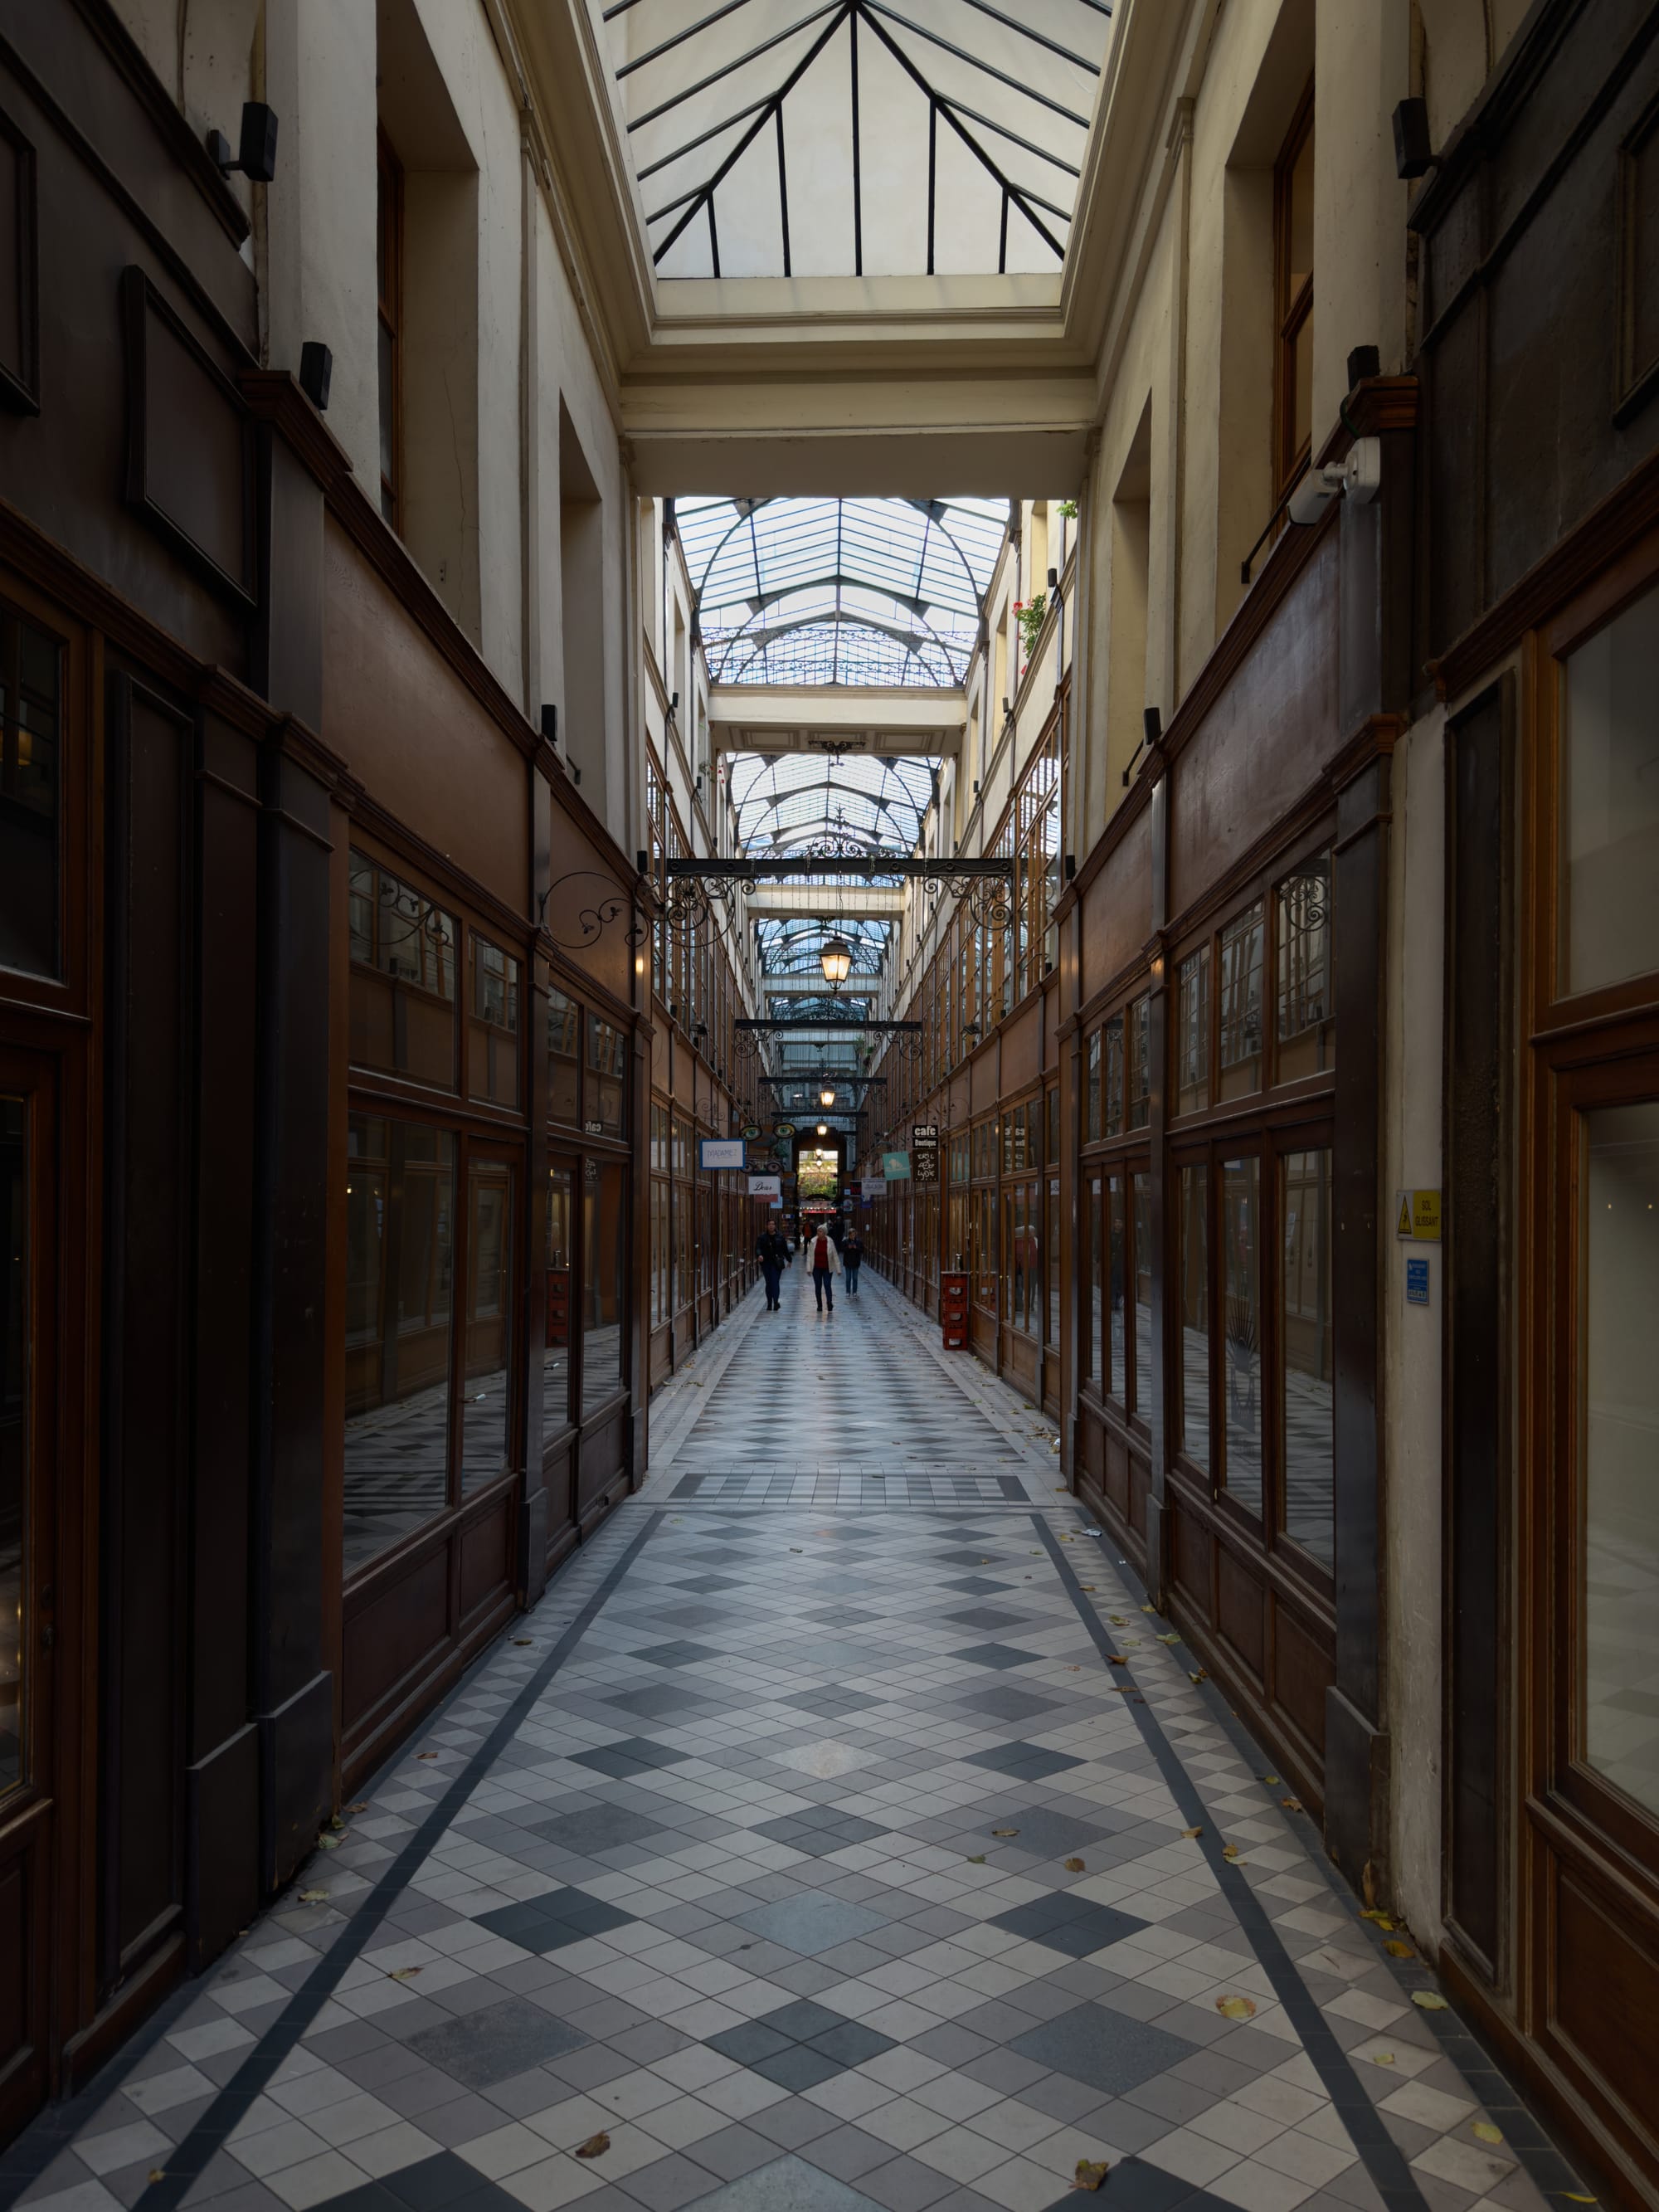
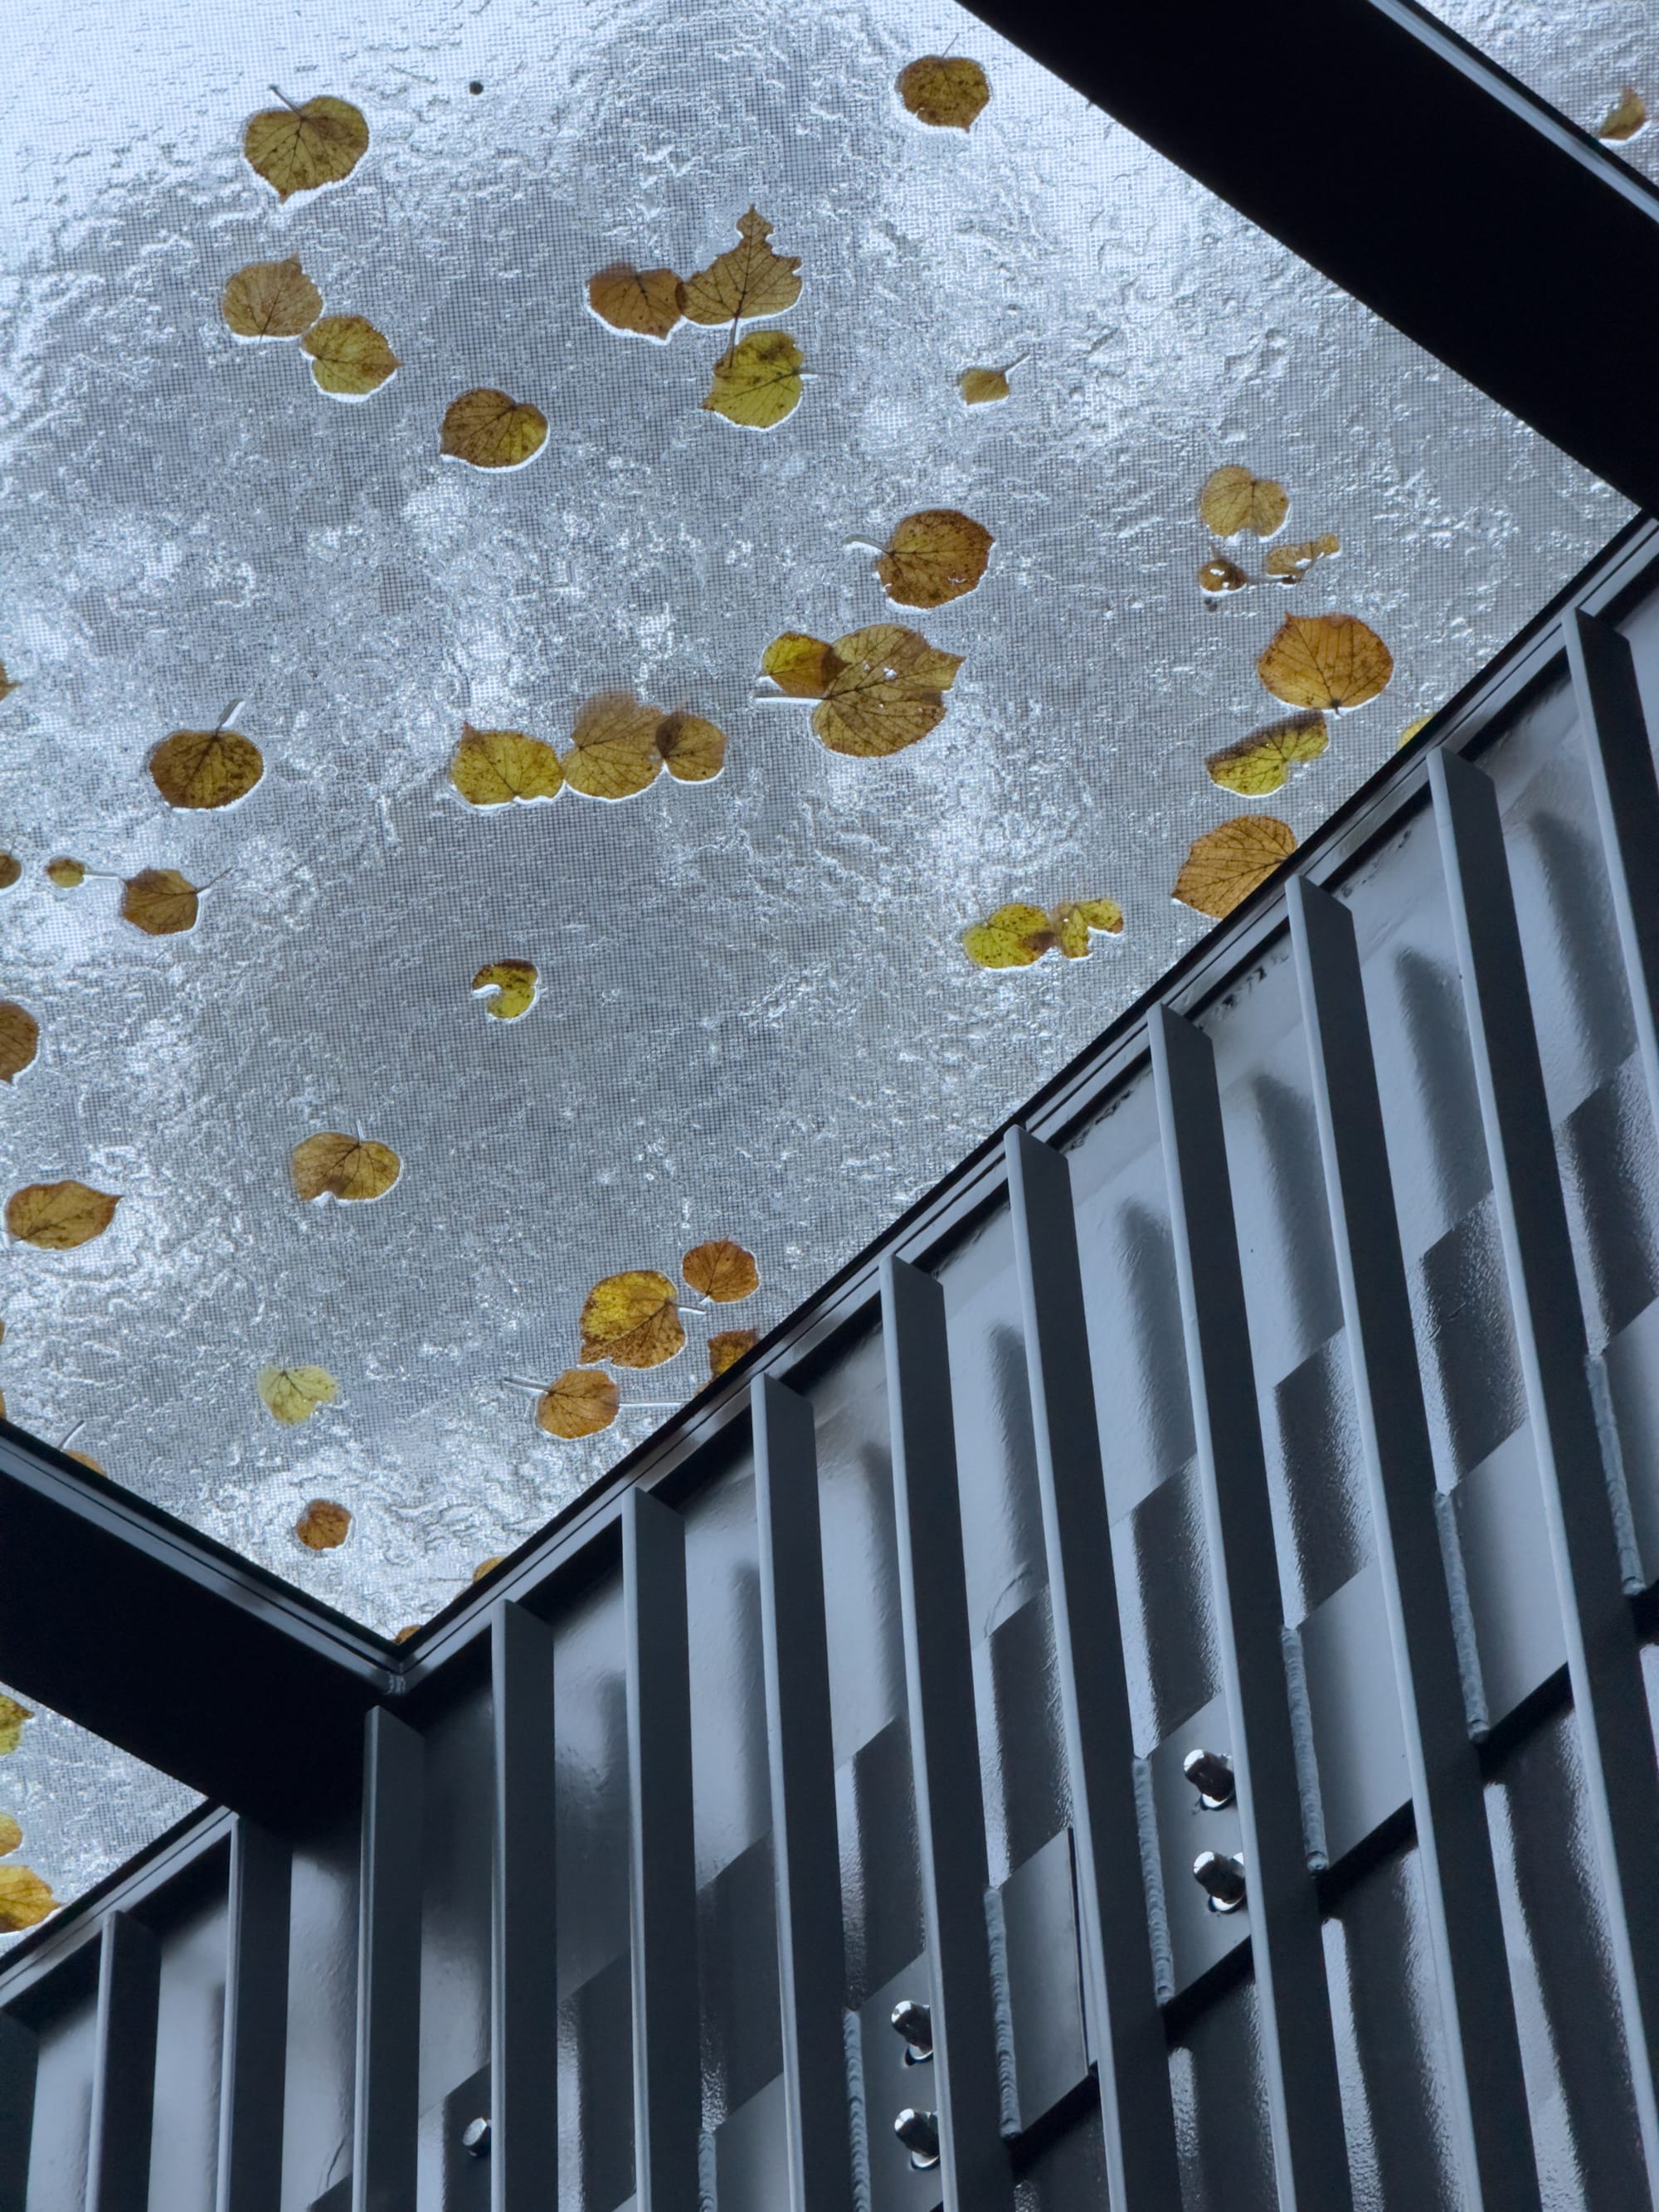
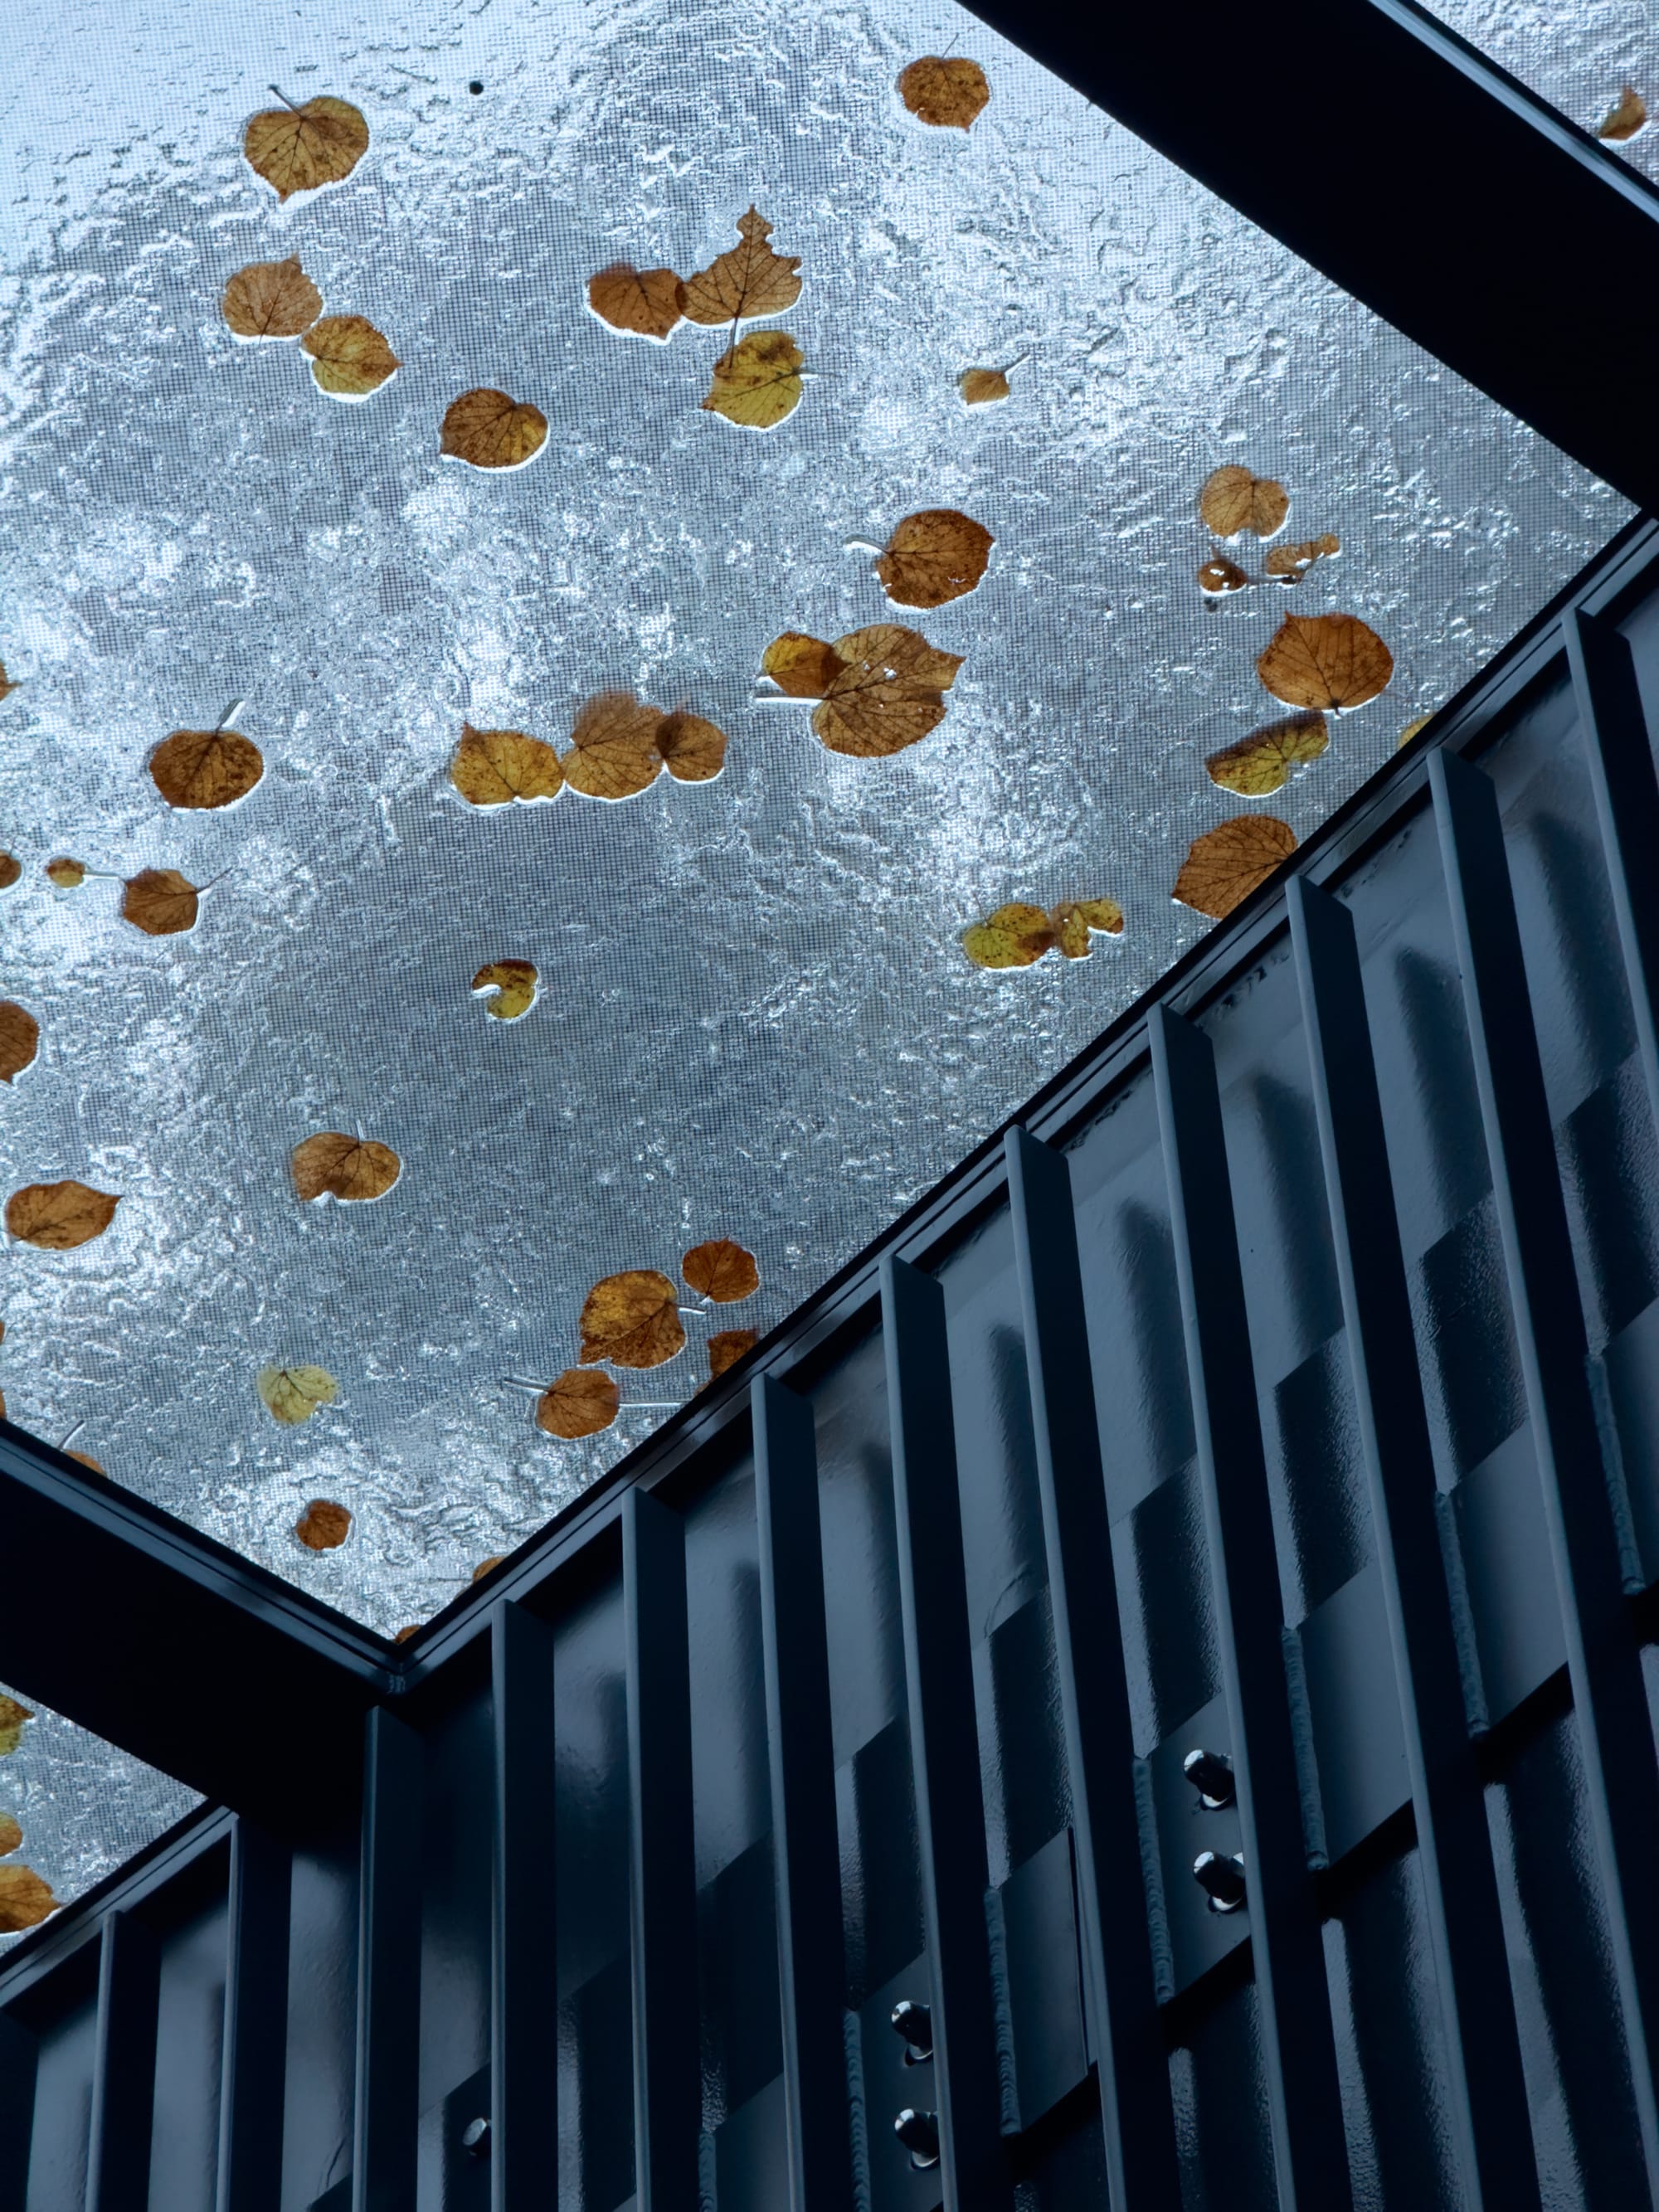
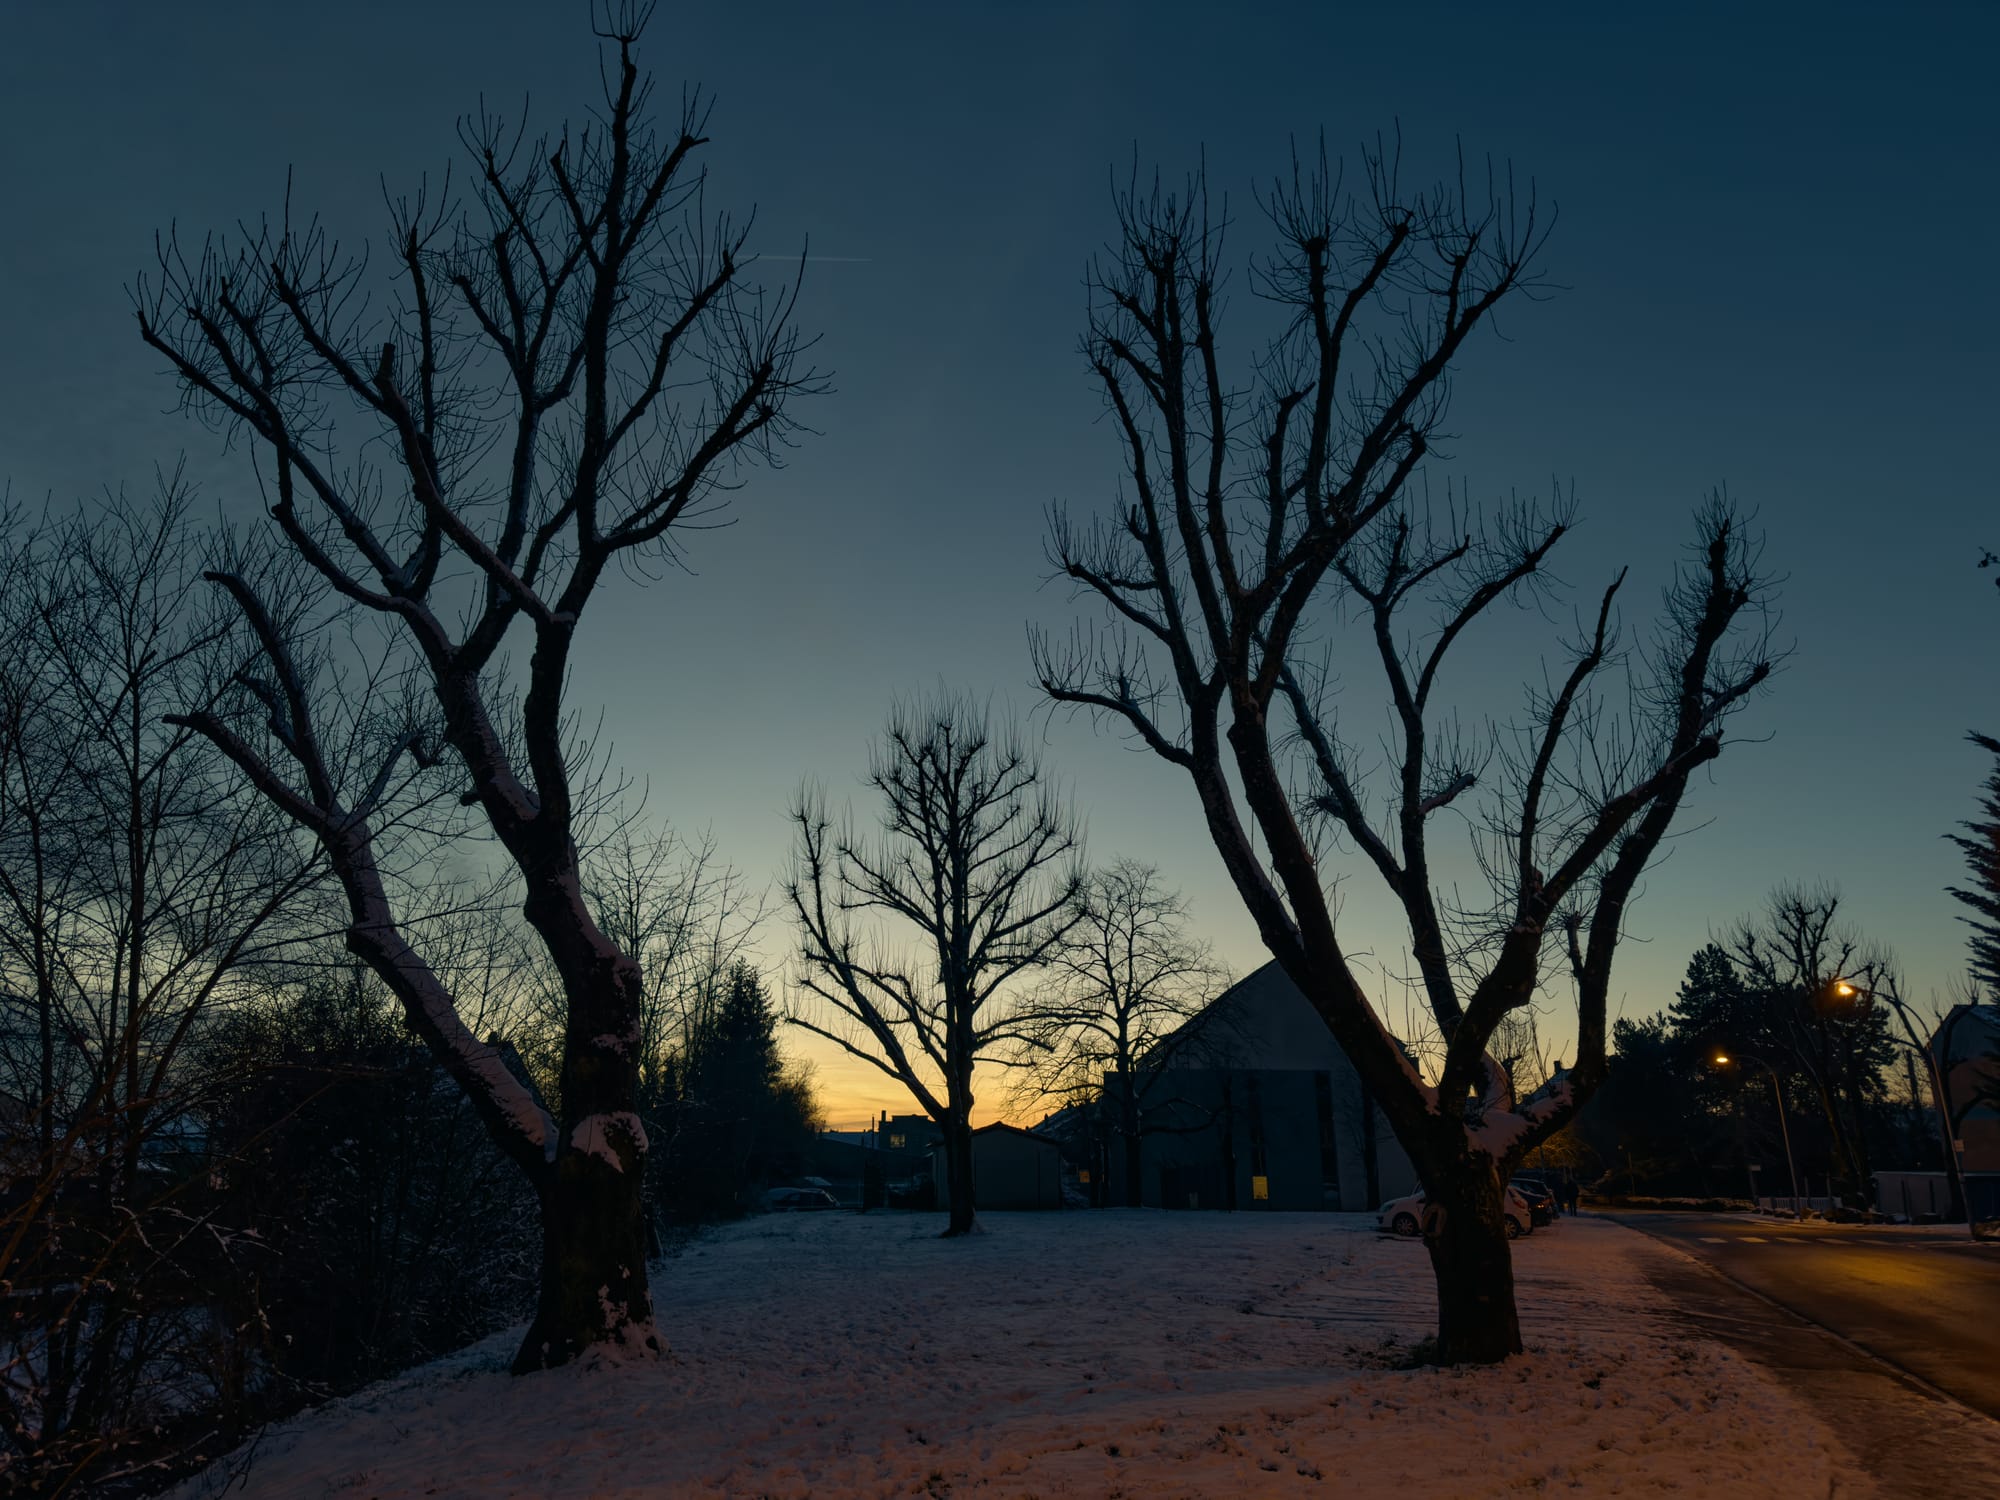
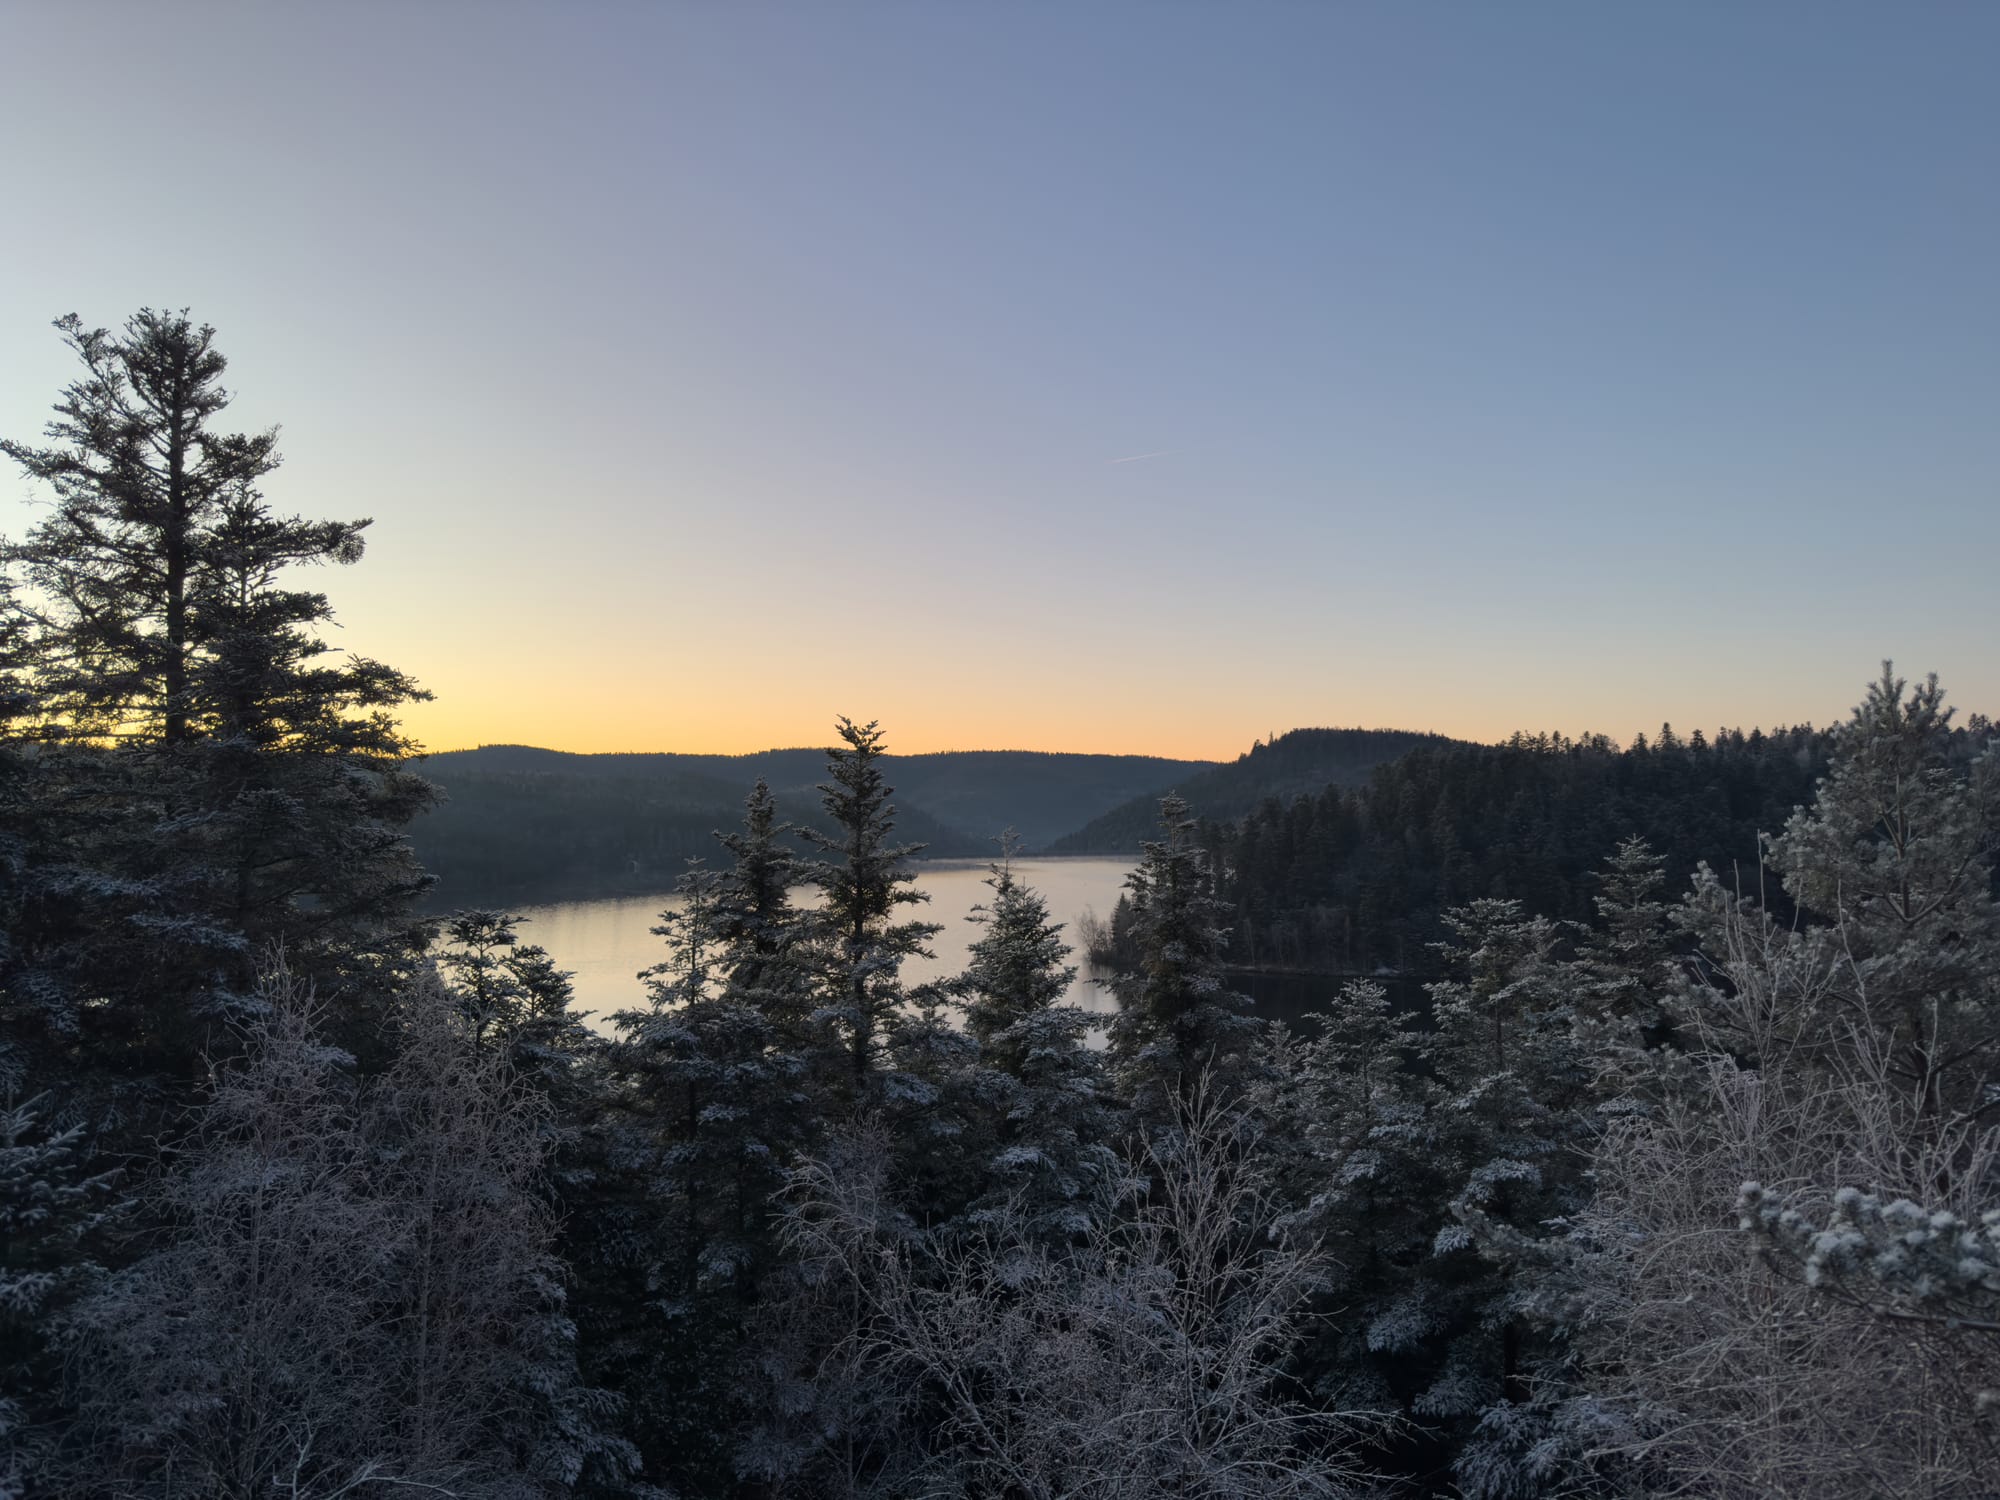
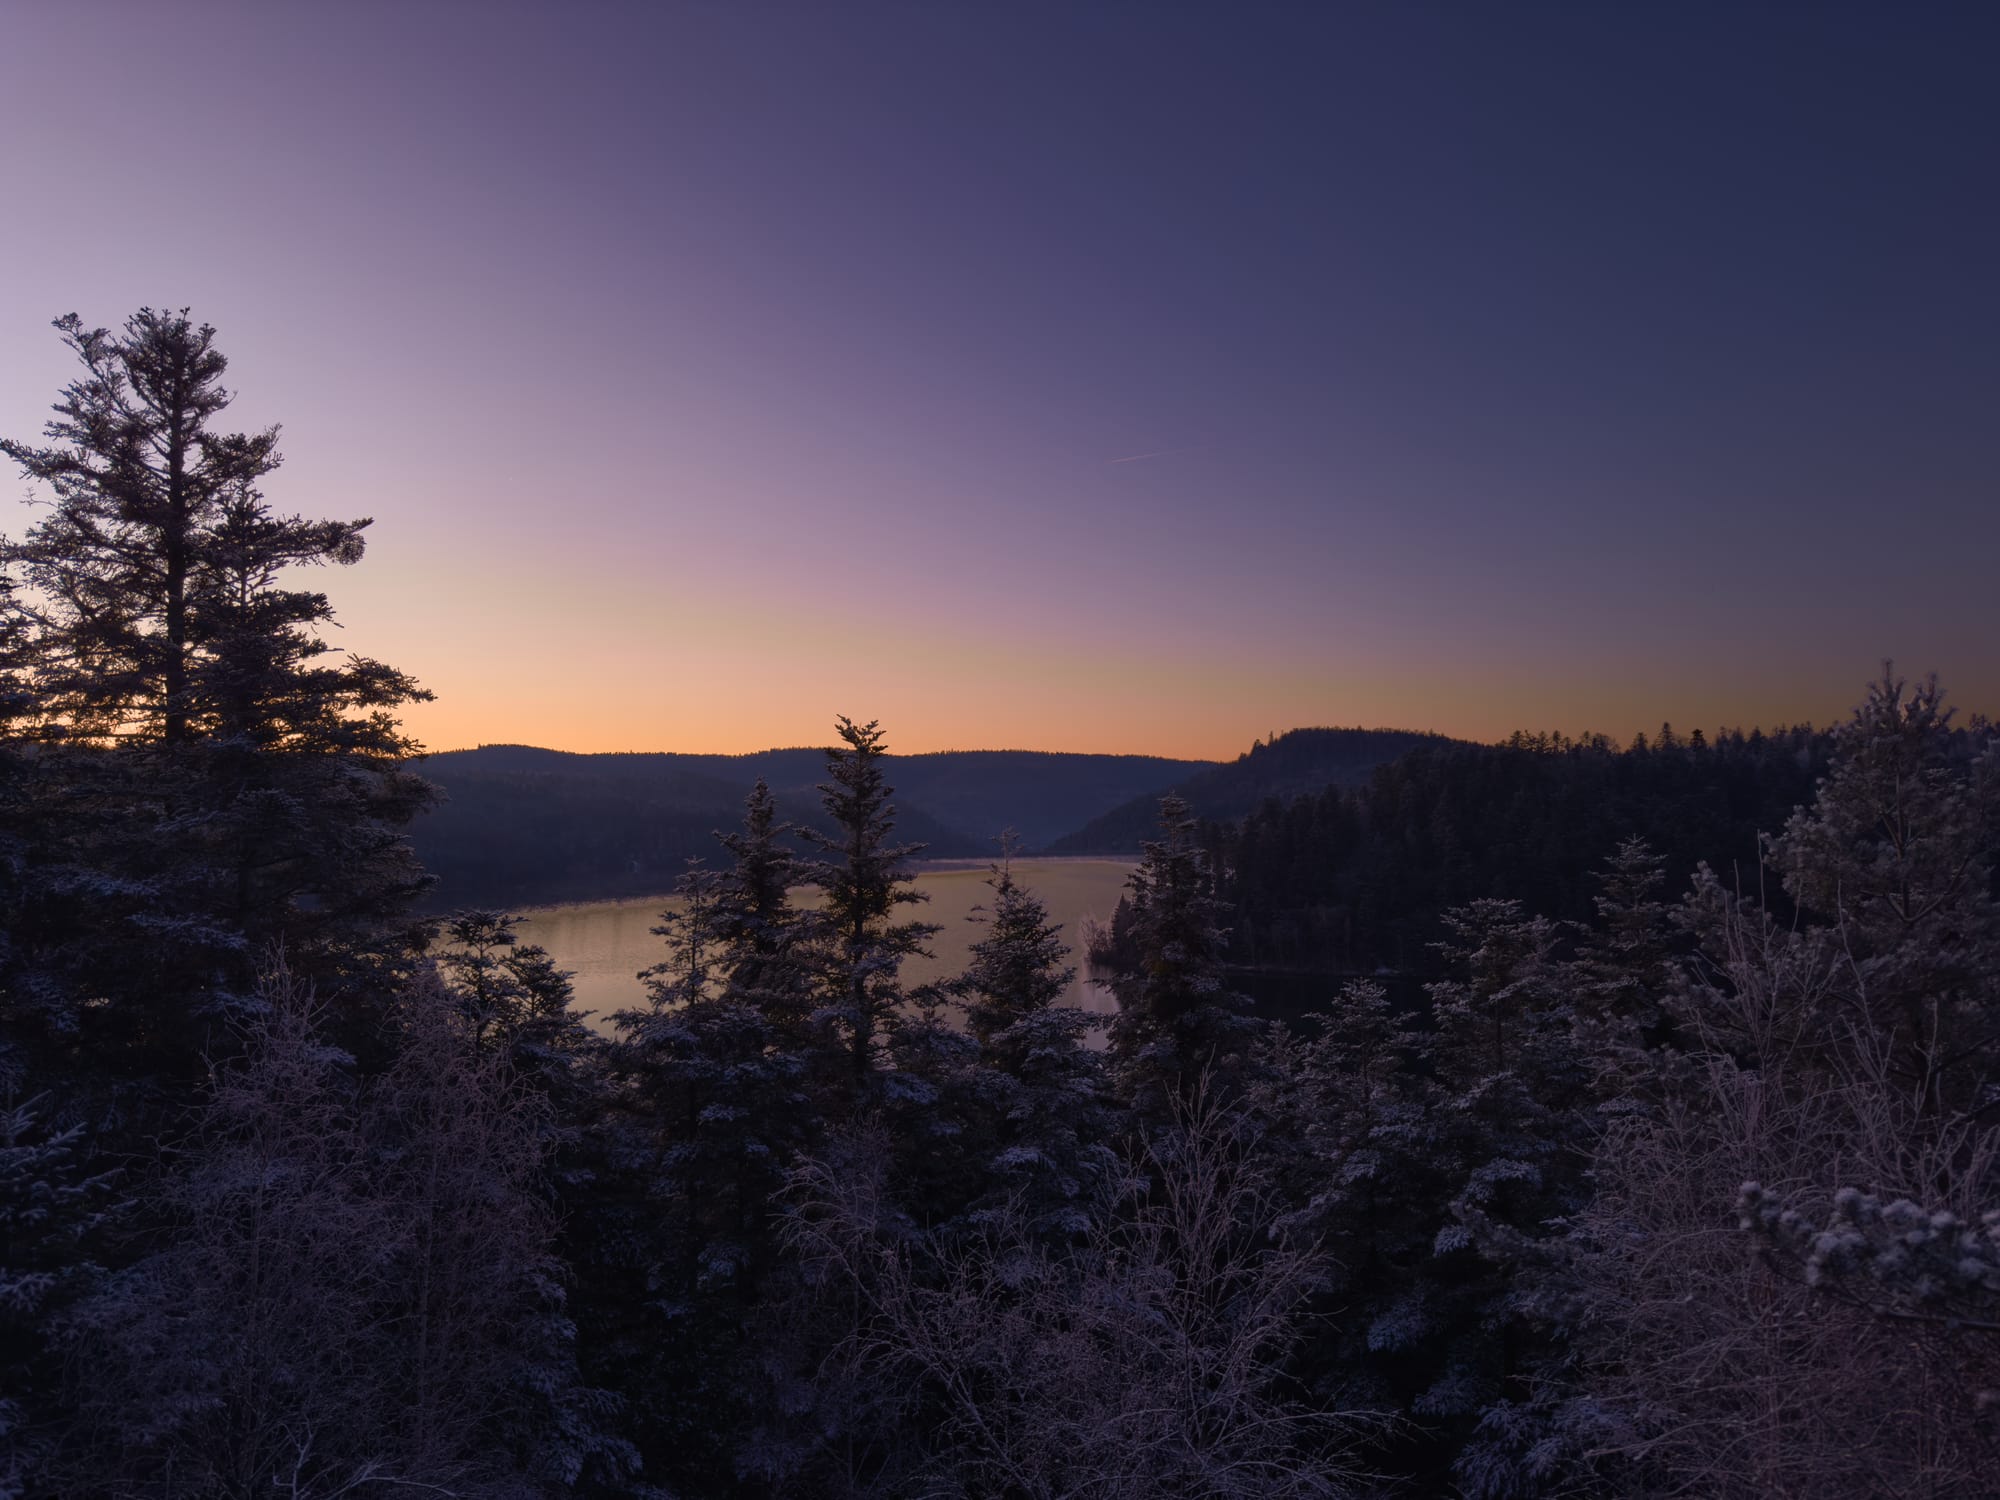
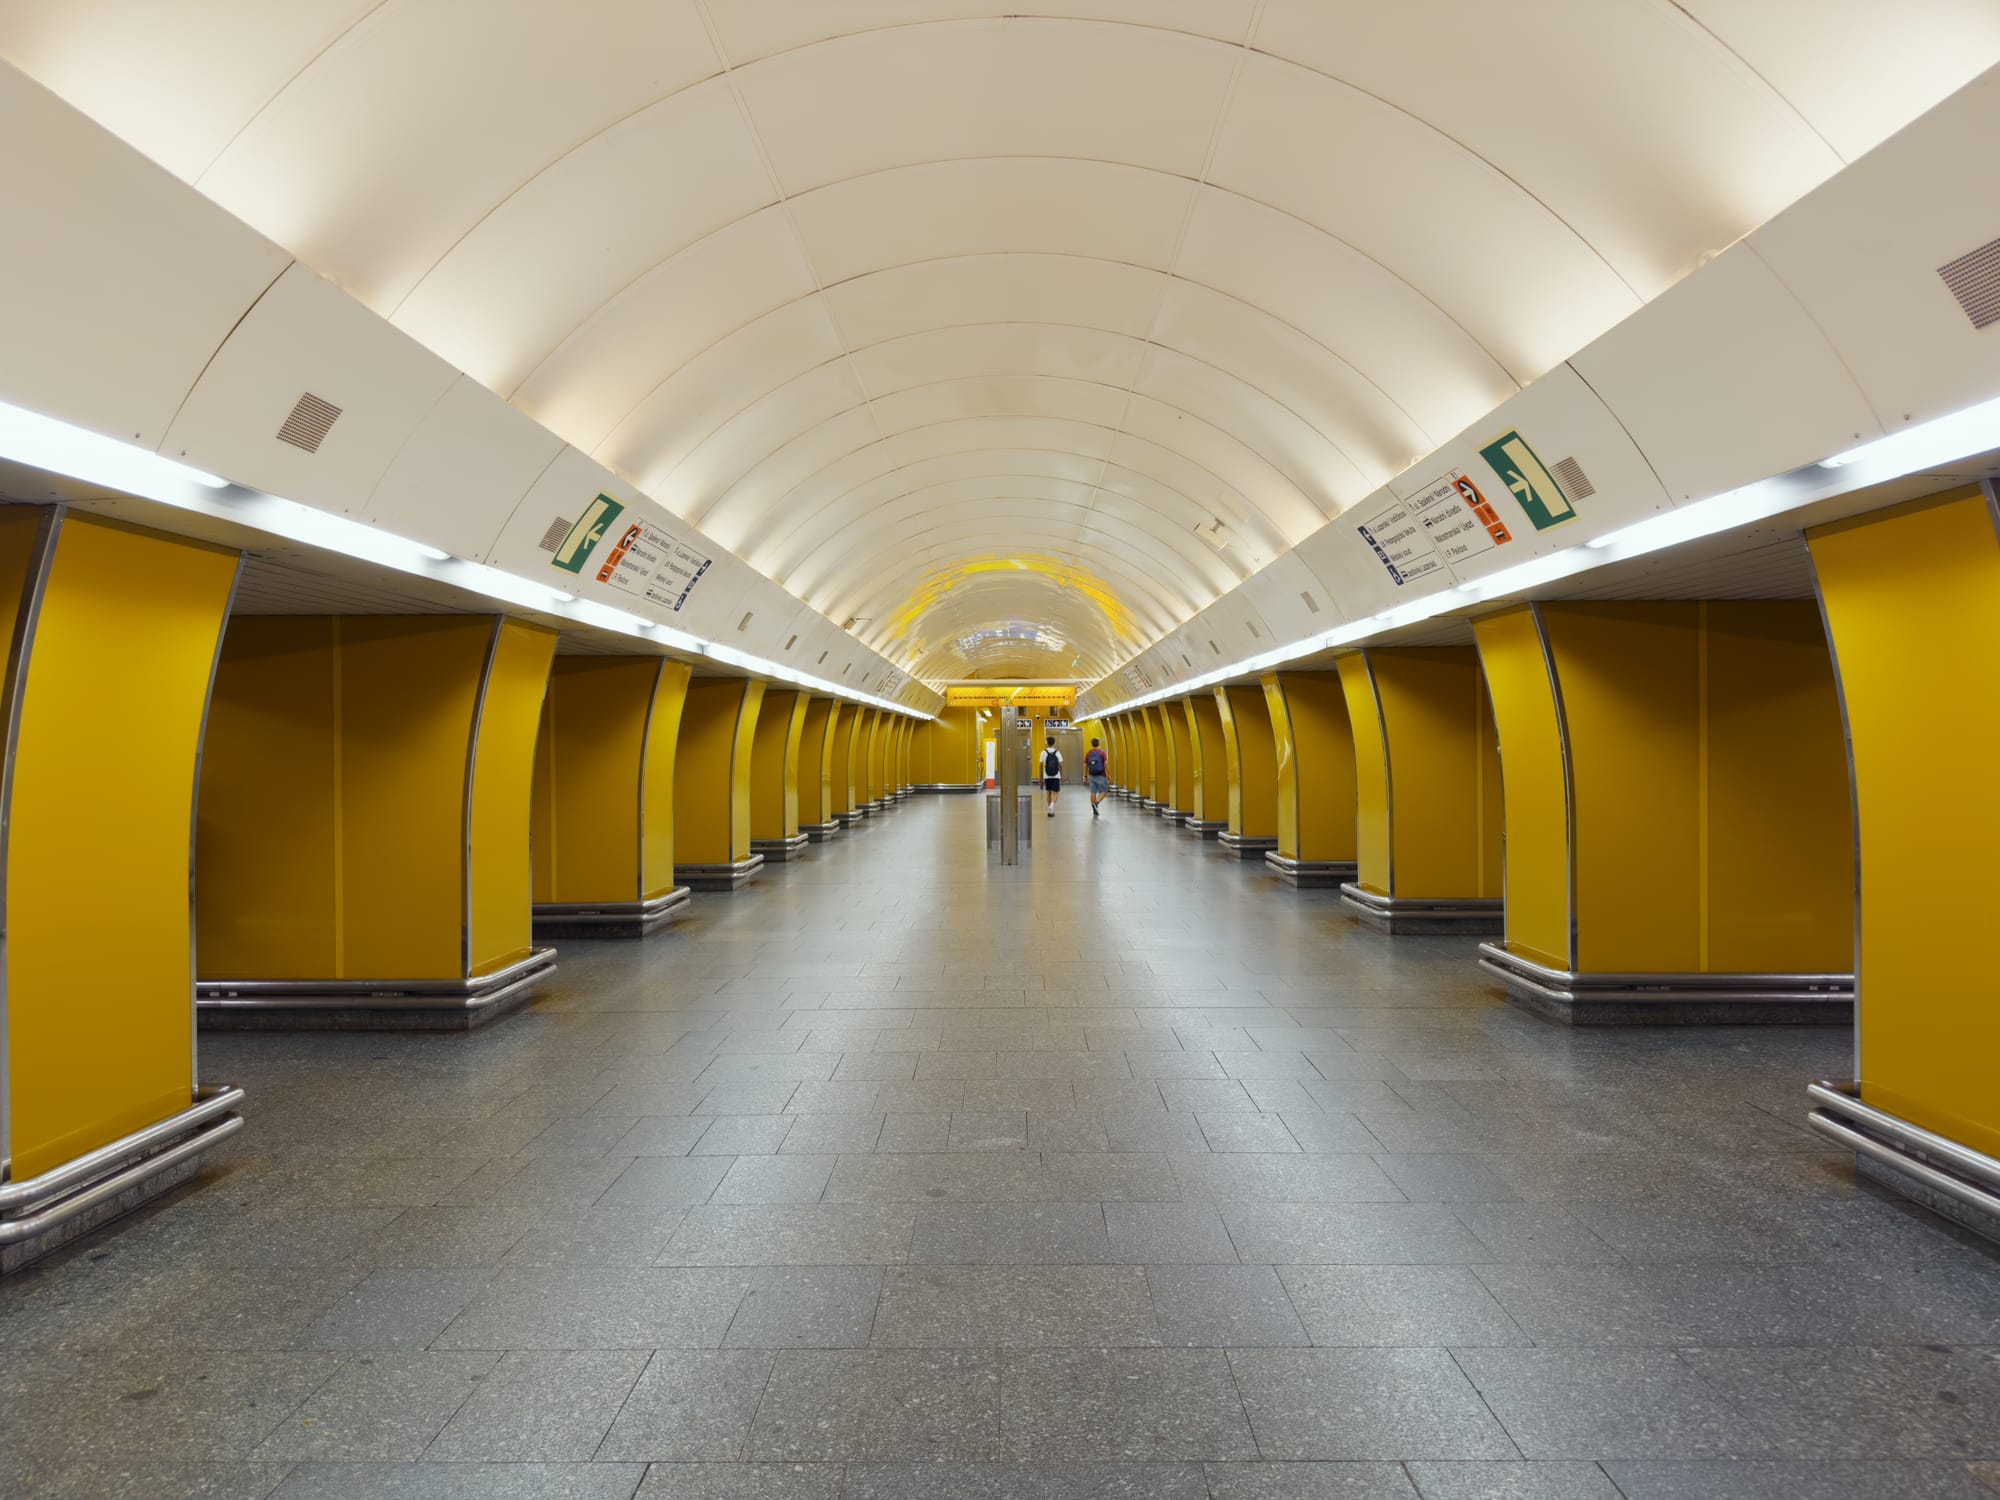
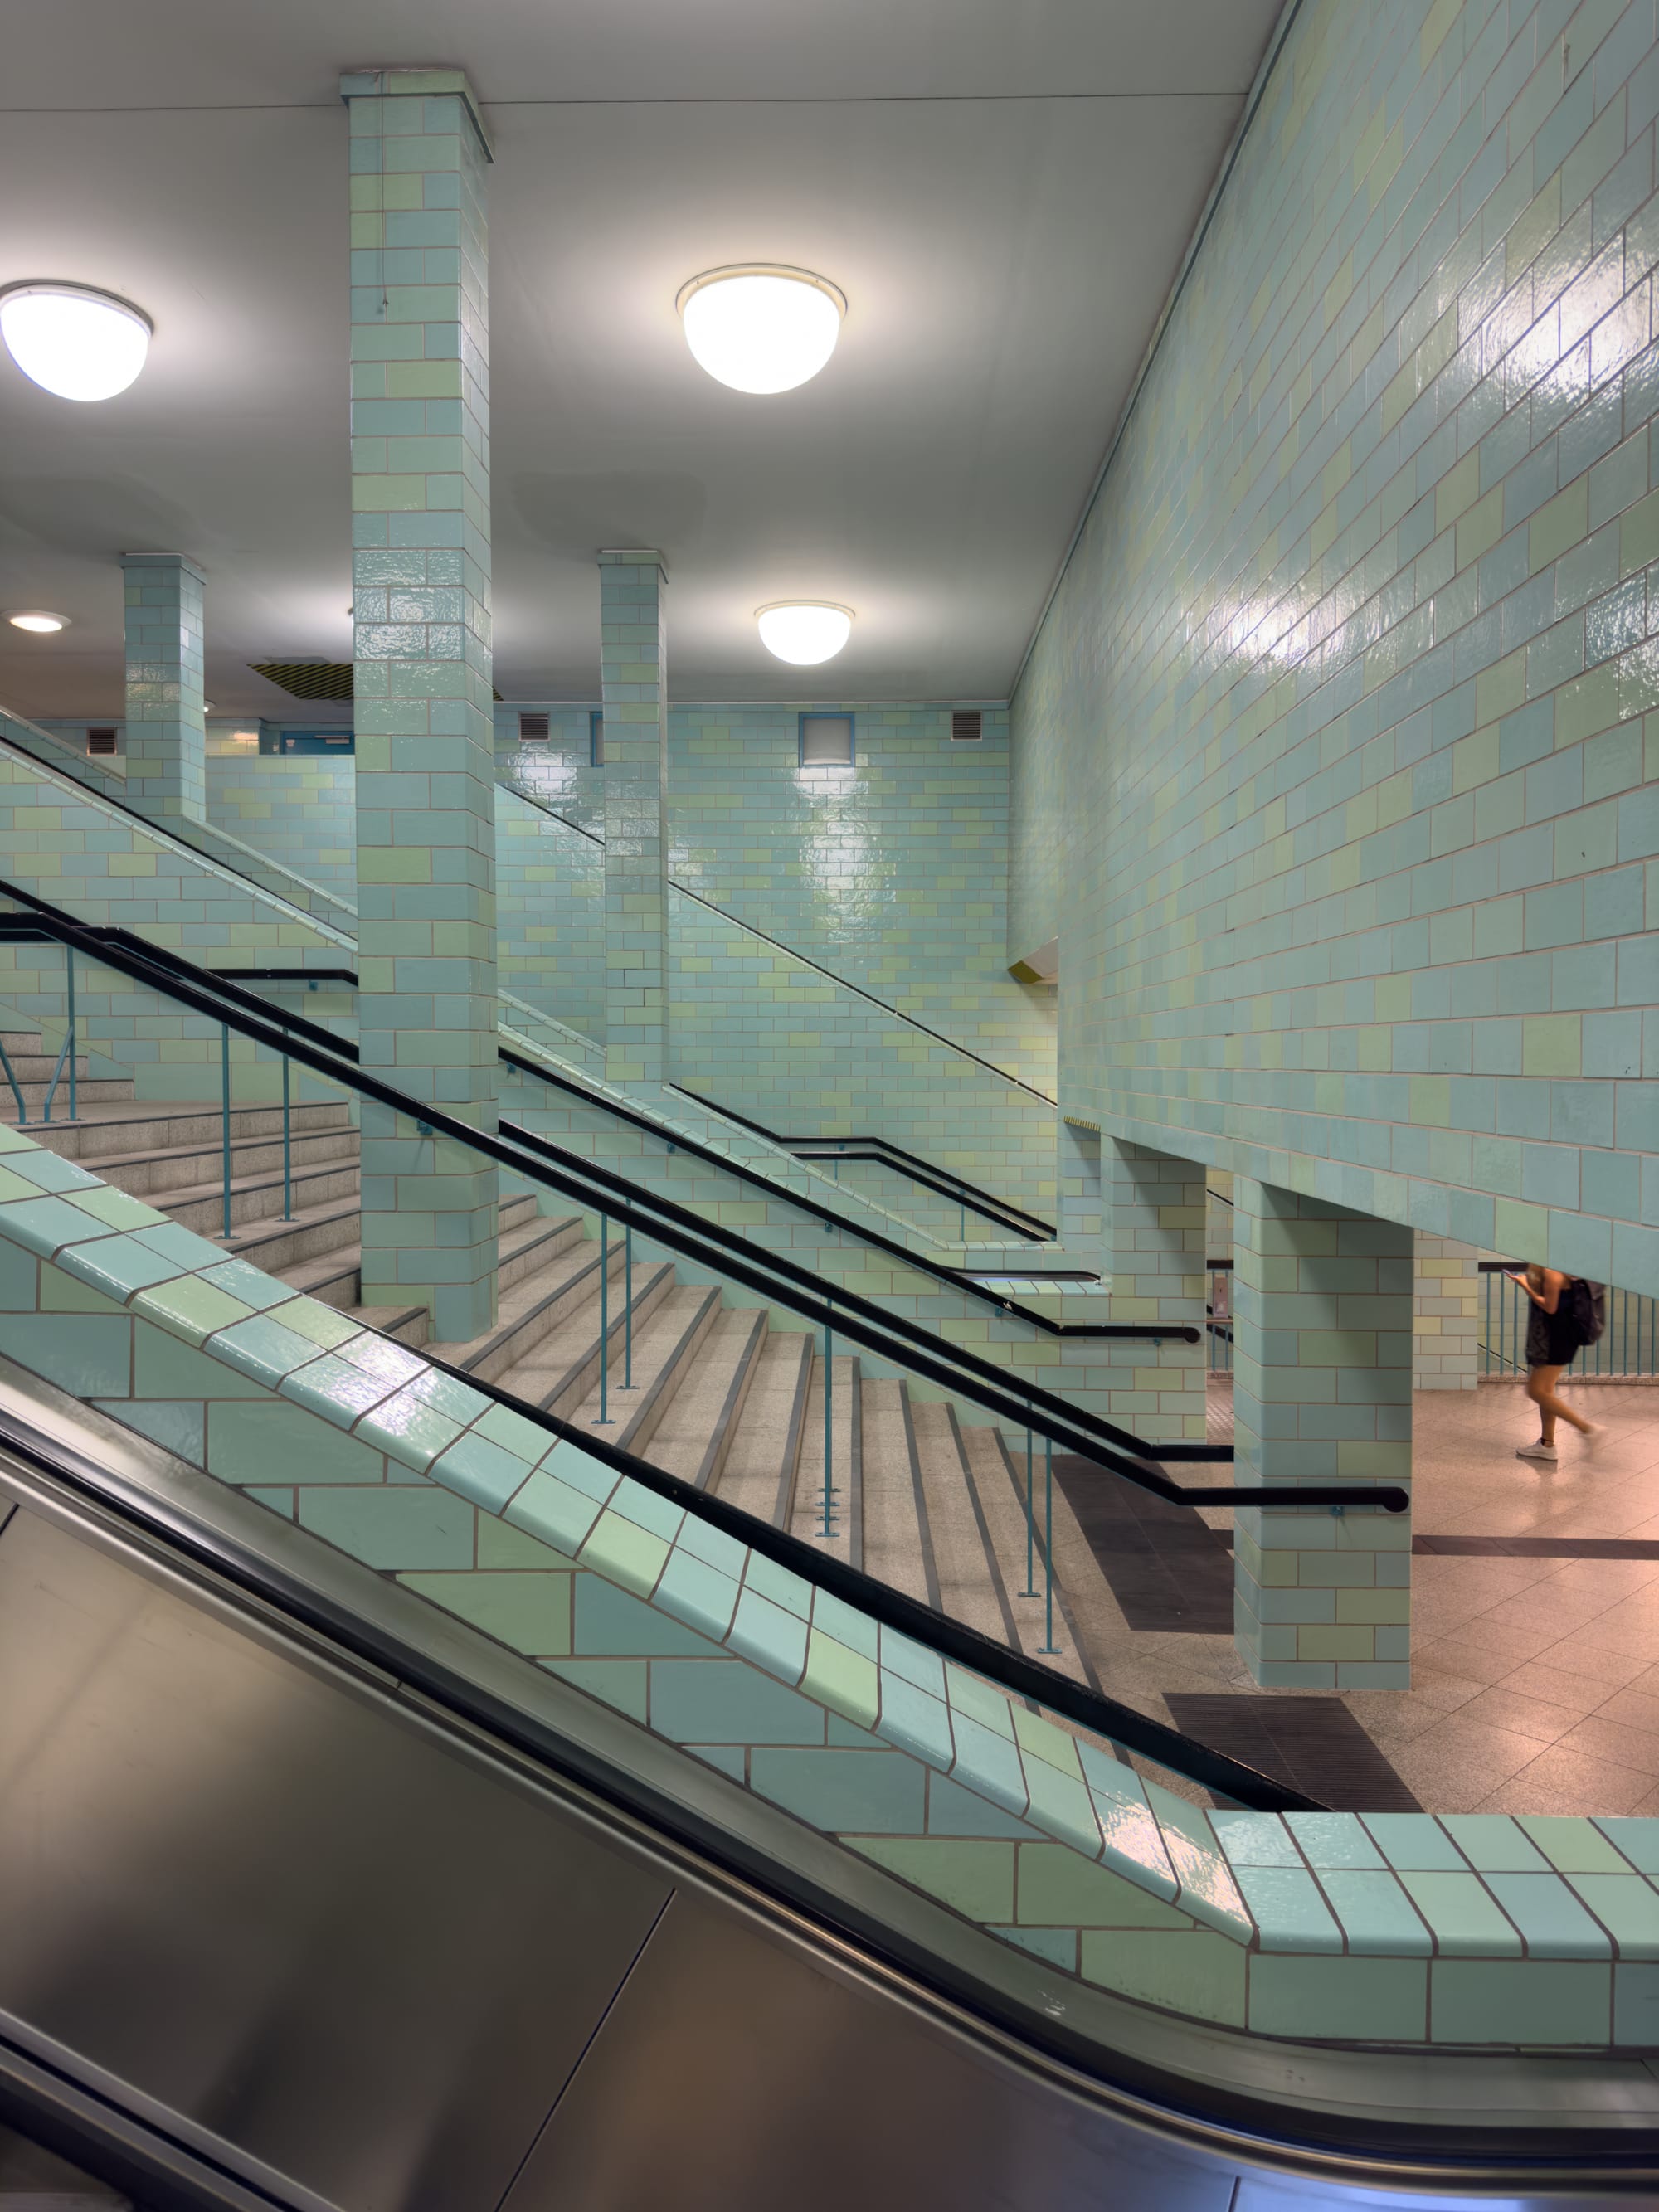
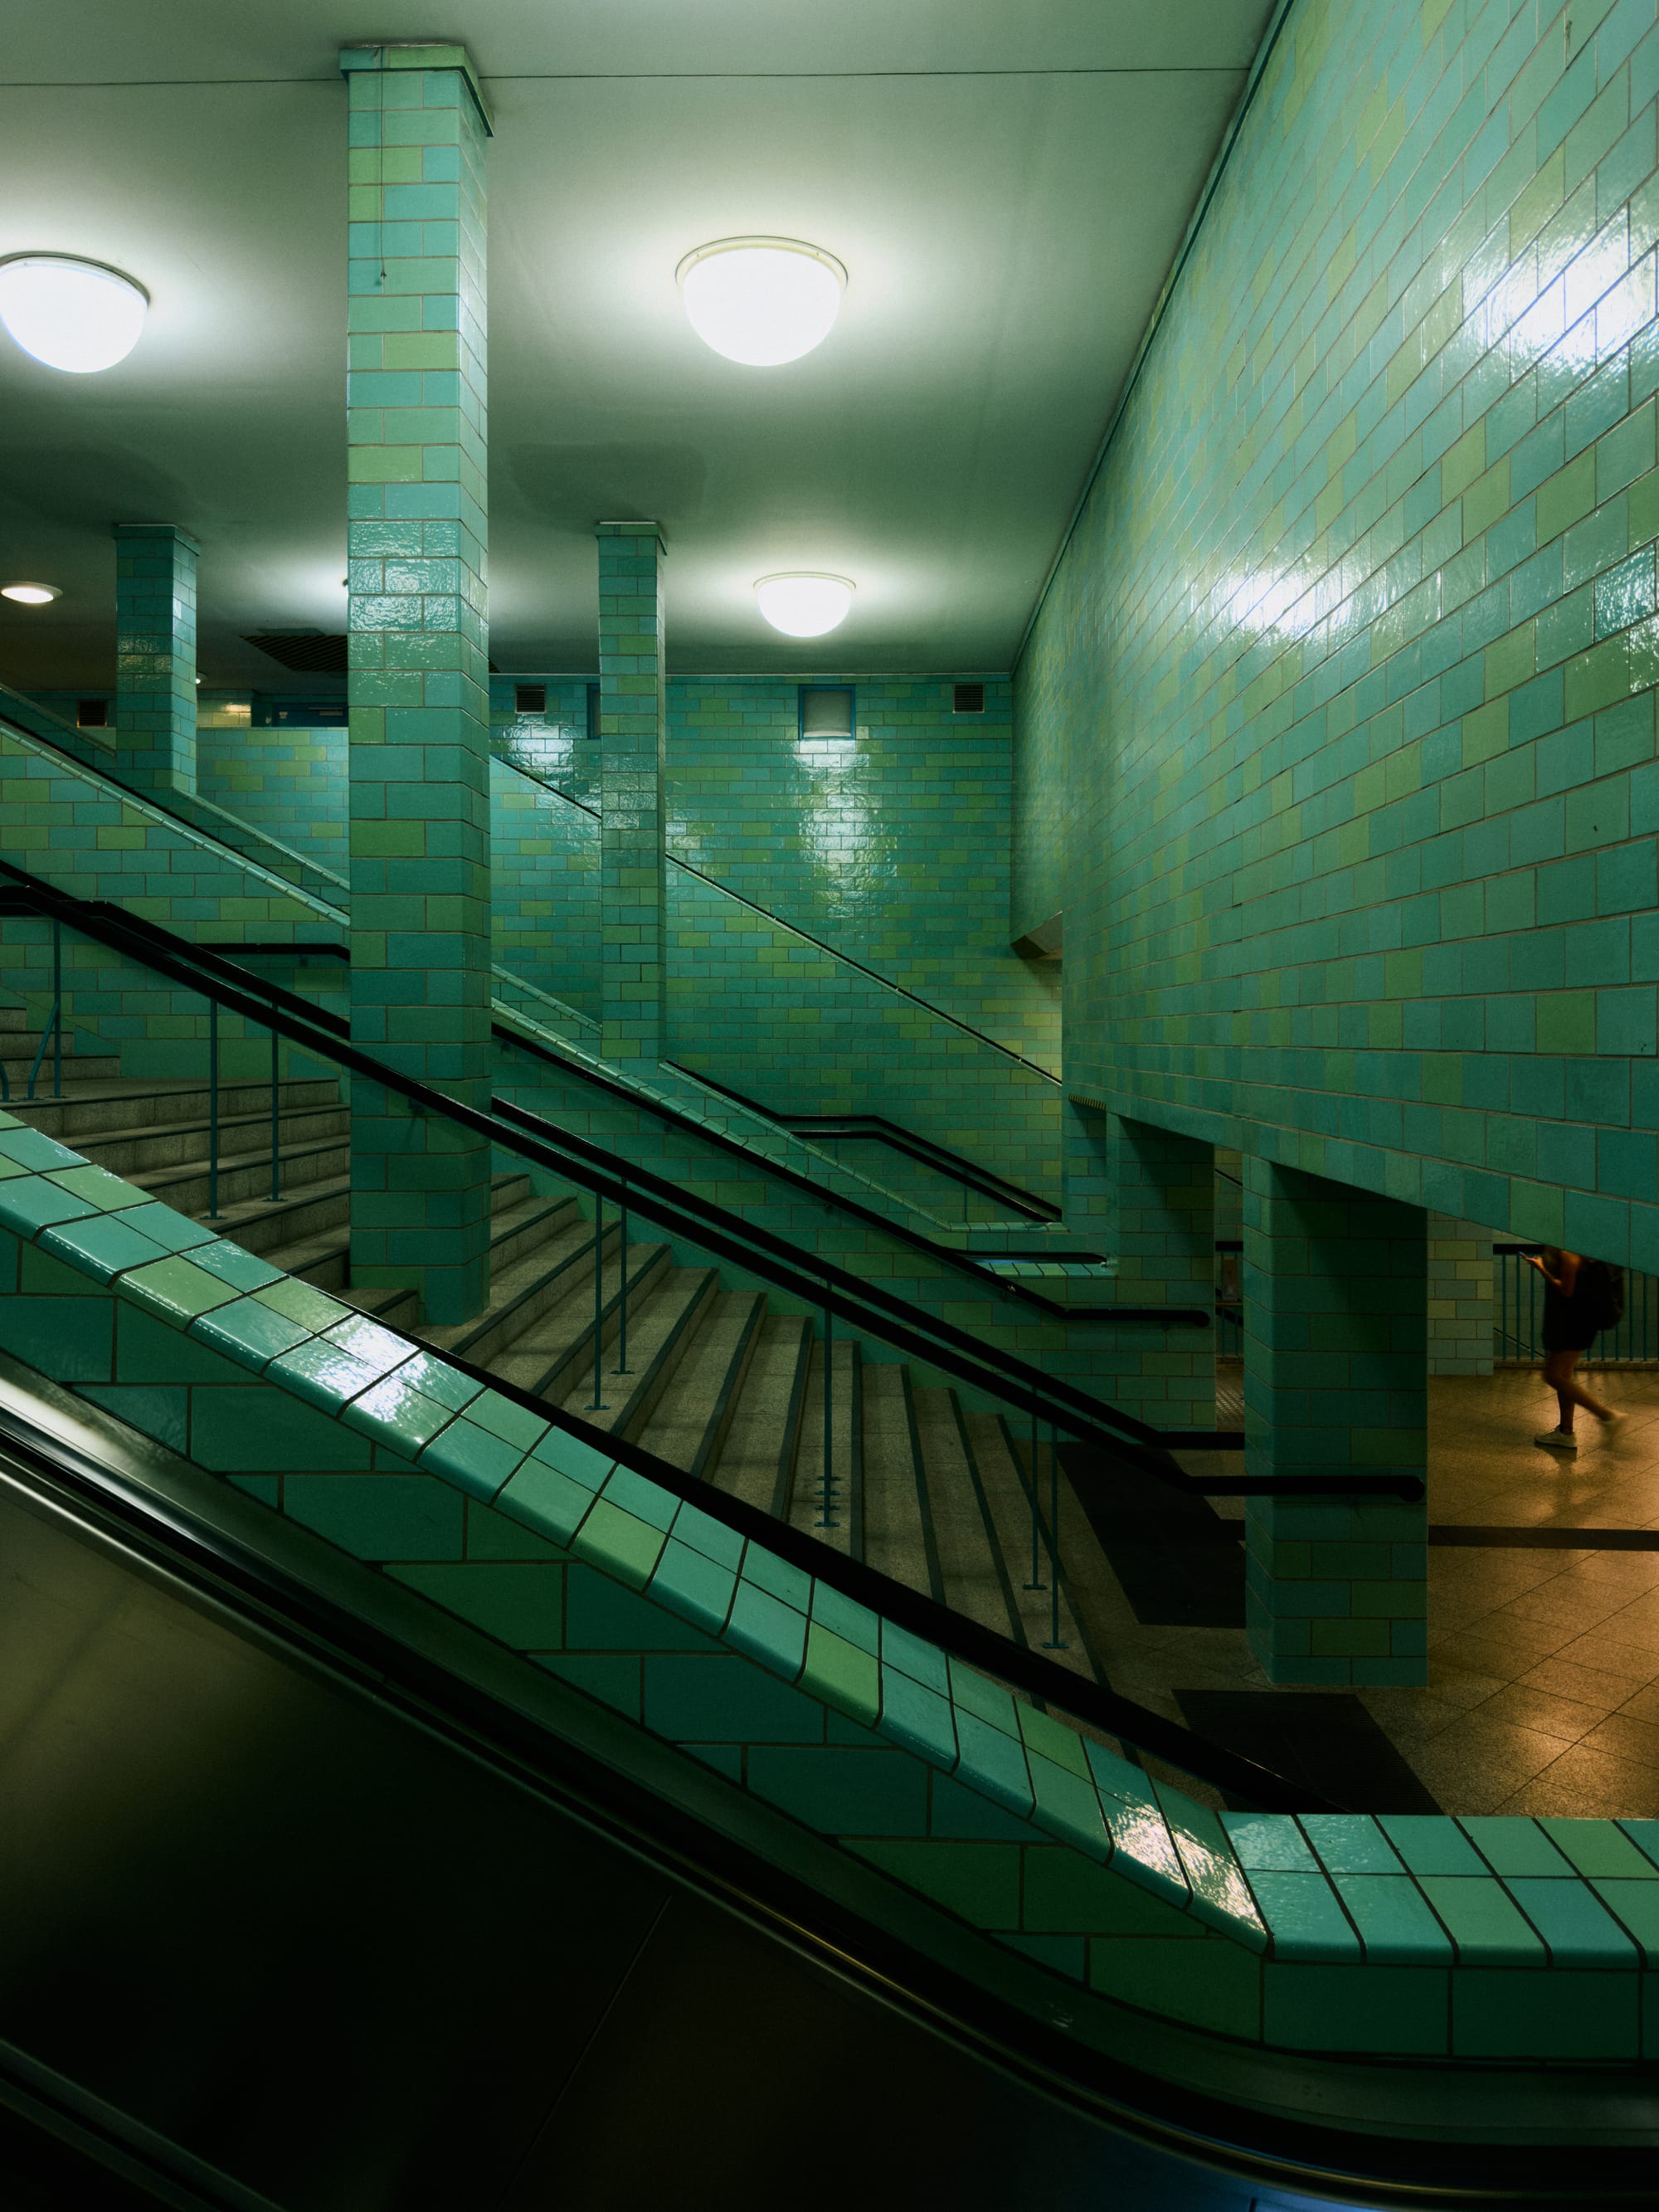
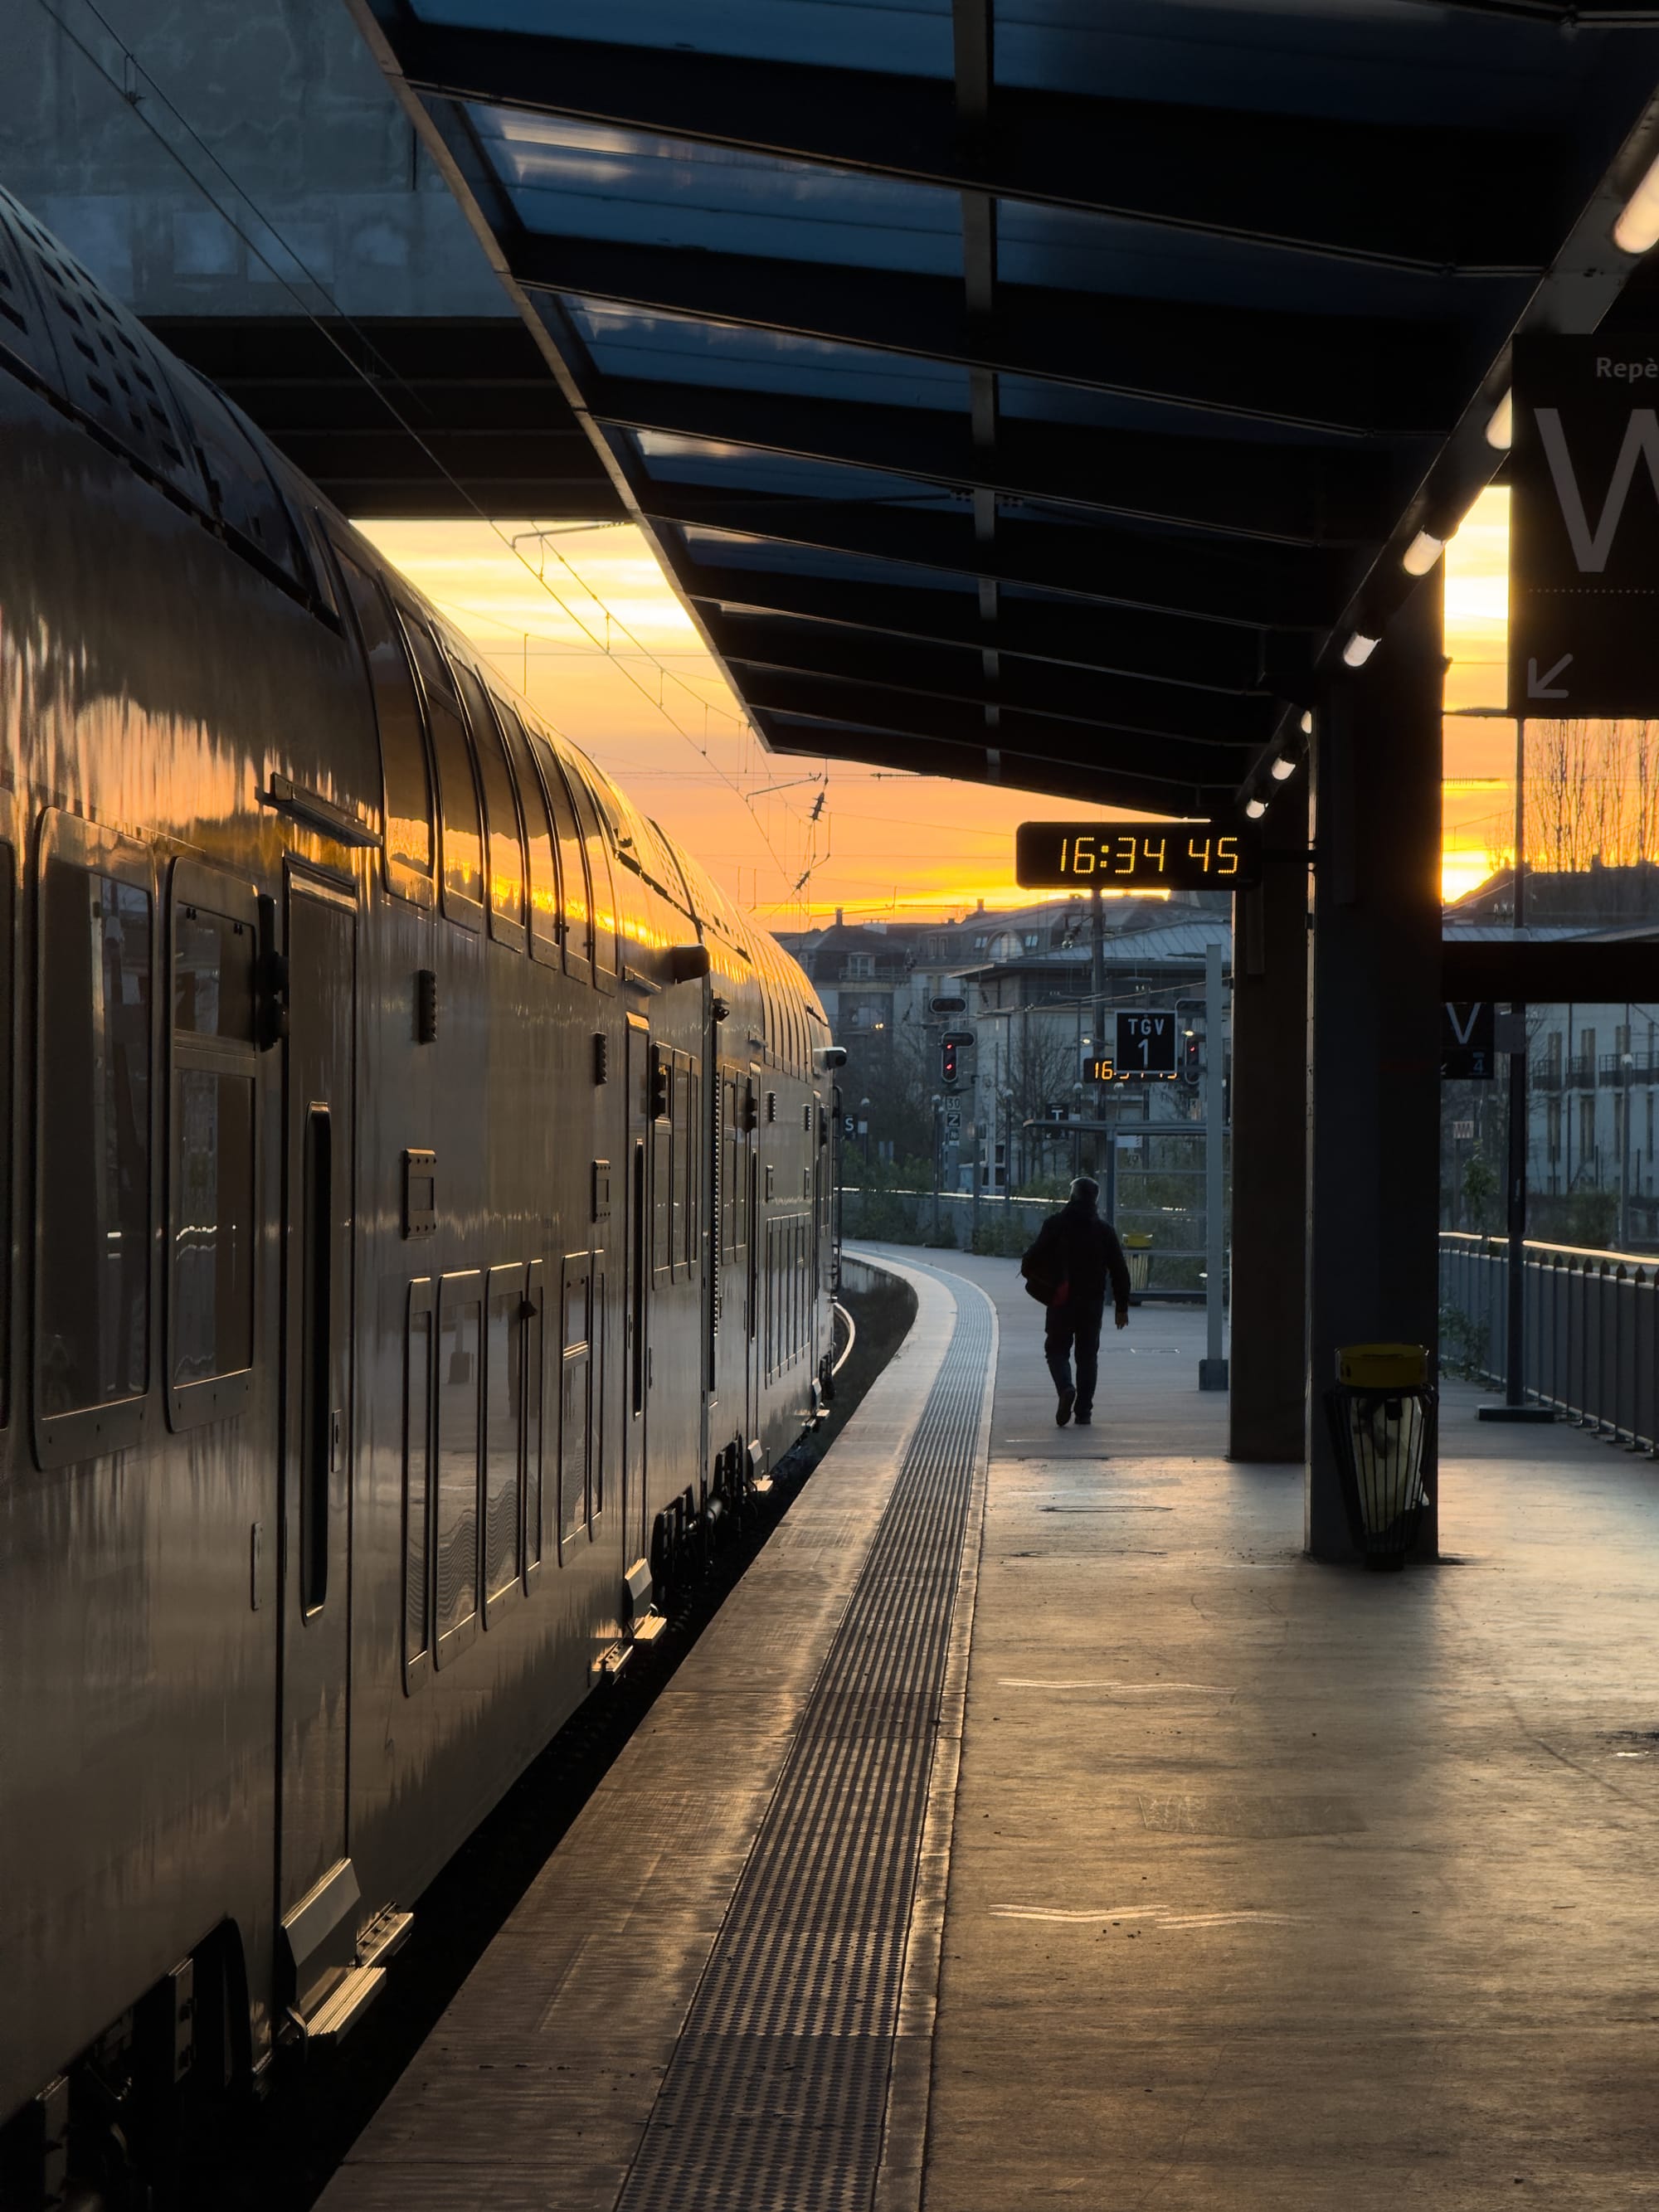
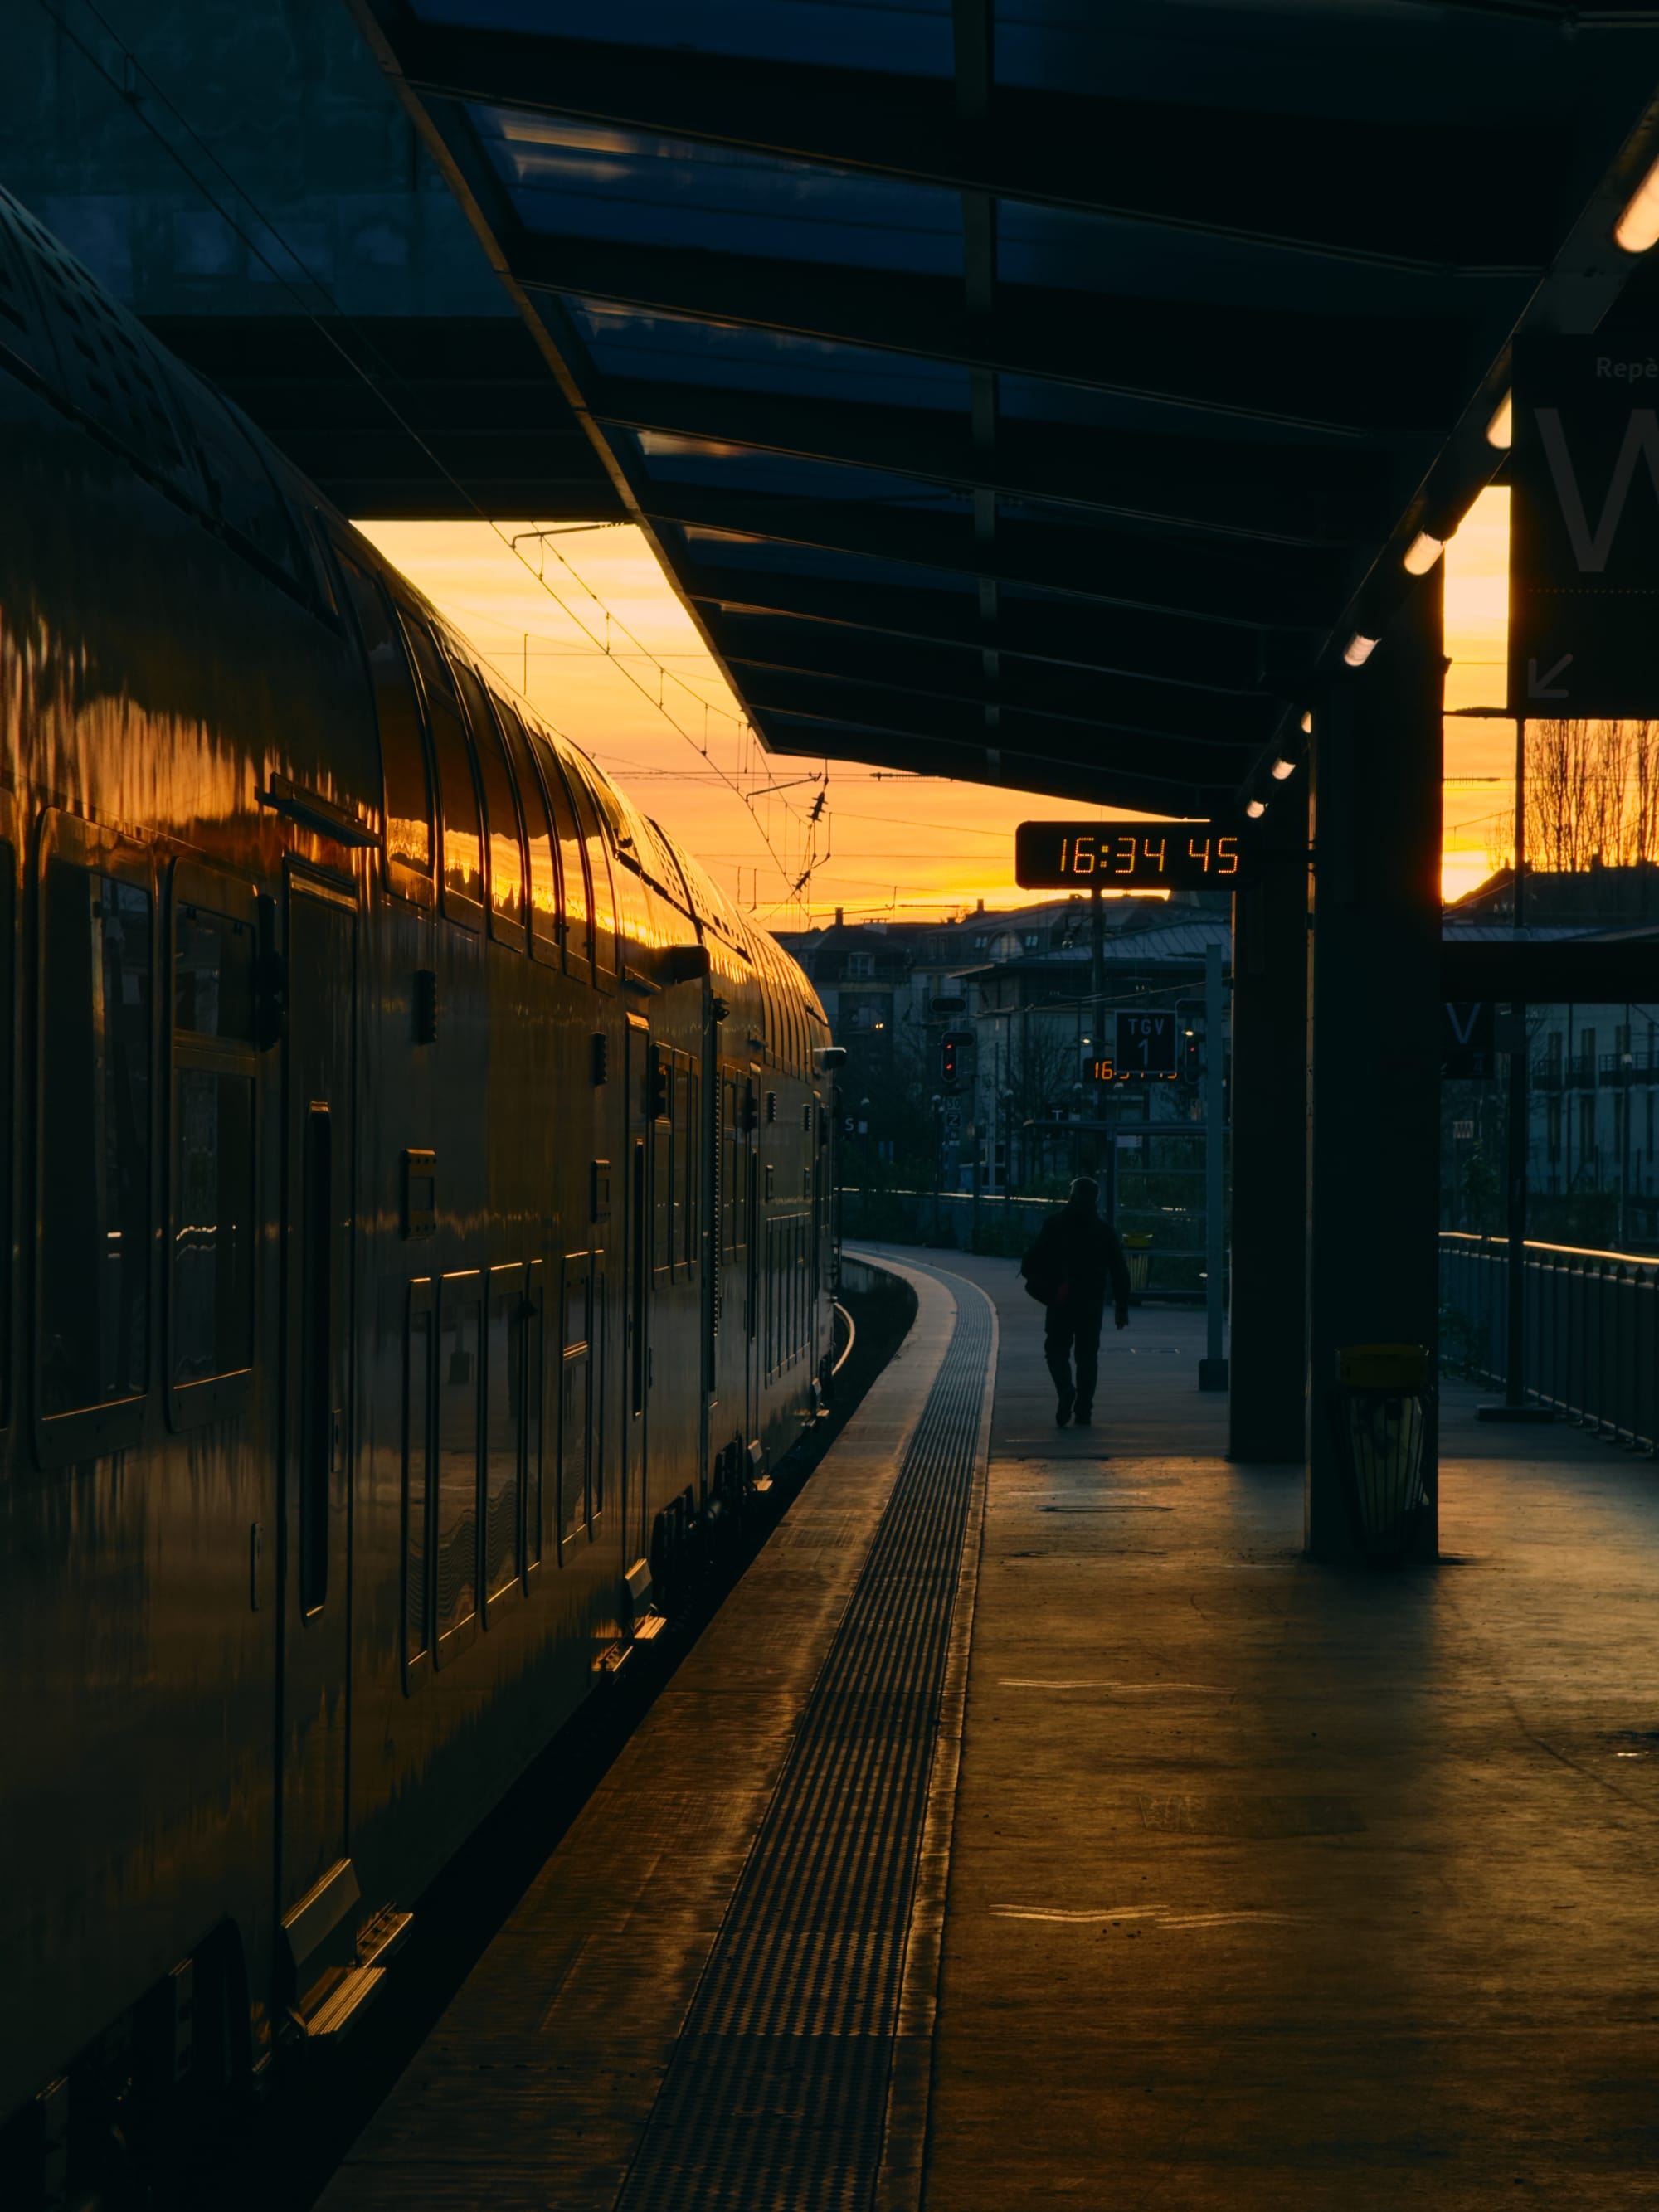
Before and After: iPhone Tone Mapping vs. Manual Edit
Below are examples showing the same photos processed by the iPhone’s default pipeline versus edited in Capture One with the Film Standard curve and light adjustments.

Why do I choose this workflow?
It allows me to use the default camera app, which is usually the fastest to start and the most reliable. There are some great 3rd party apps like Halide, which shoot in RAW and automatically minimally process the photos with what they call “process zero”, but it doesn’t always produce the results that I need, and you might lose the recently captured photo if the app crashes.
I do admit that the above-mentioned method requires some learning to do, but in the process, you might also learn many things about what your phone’s camera is doing behind the scenes and learn some editing tricks.